News / How to Add a Breeder
How to Add a Breeder
- Only one required field: Date of Birth. Everything else is optional
- Unique ID auto-generates from the DOB in the format B-YYYY-NNNN
- Genetics search pulls from a full database of base genes and combos. Possible hets show with dashed borders
- Save and Add Another keeps the form open for batch entry when adding multiple animals from the same clutch or shipment
- Takes 1-2 minutes per animal. Available on all tiers
Adding a breeder creates a full animal profile in your collection. You will enter identity info, genetics, care preferences, and acquisition details. The only required field is Date of Birth.
Steps
Step 1: Open the Add Breeder Form
From your Dashboard, find the Quick Actions panel on the left sidebar. Click the Breeder button.
You can also click + Add in the top navigation bar and select "Breeder" from the dropdown.
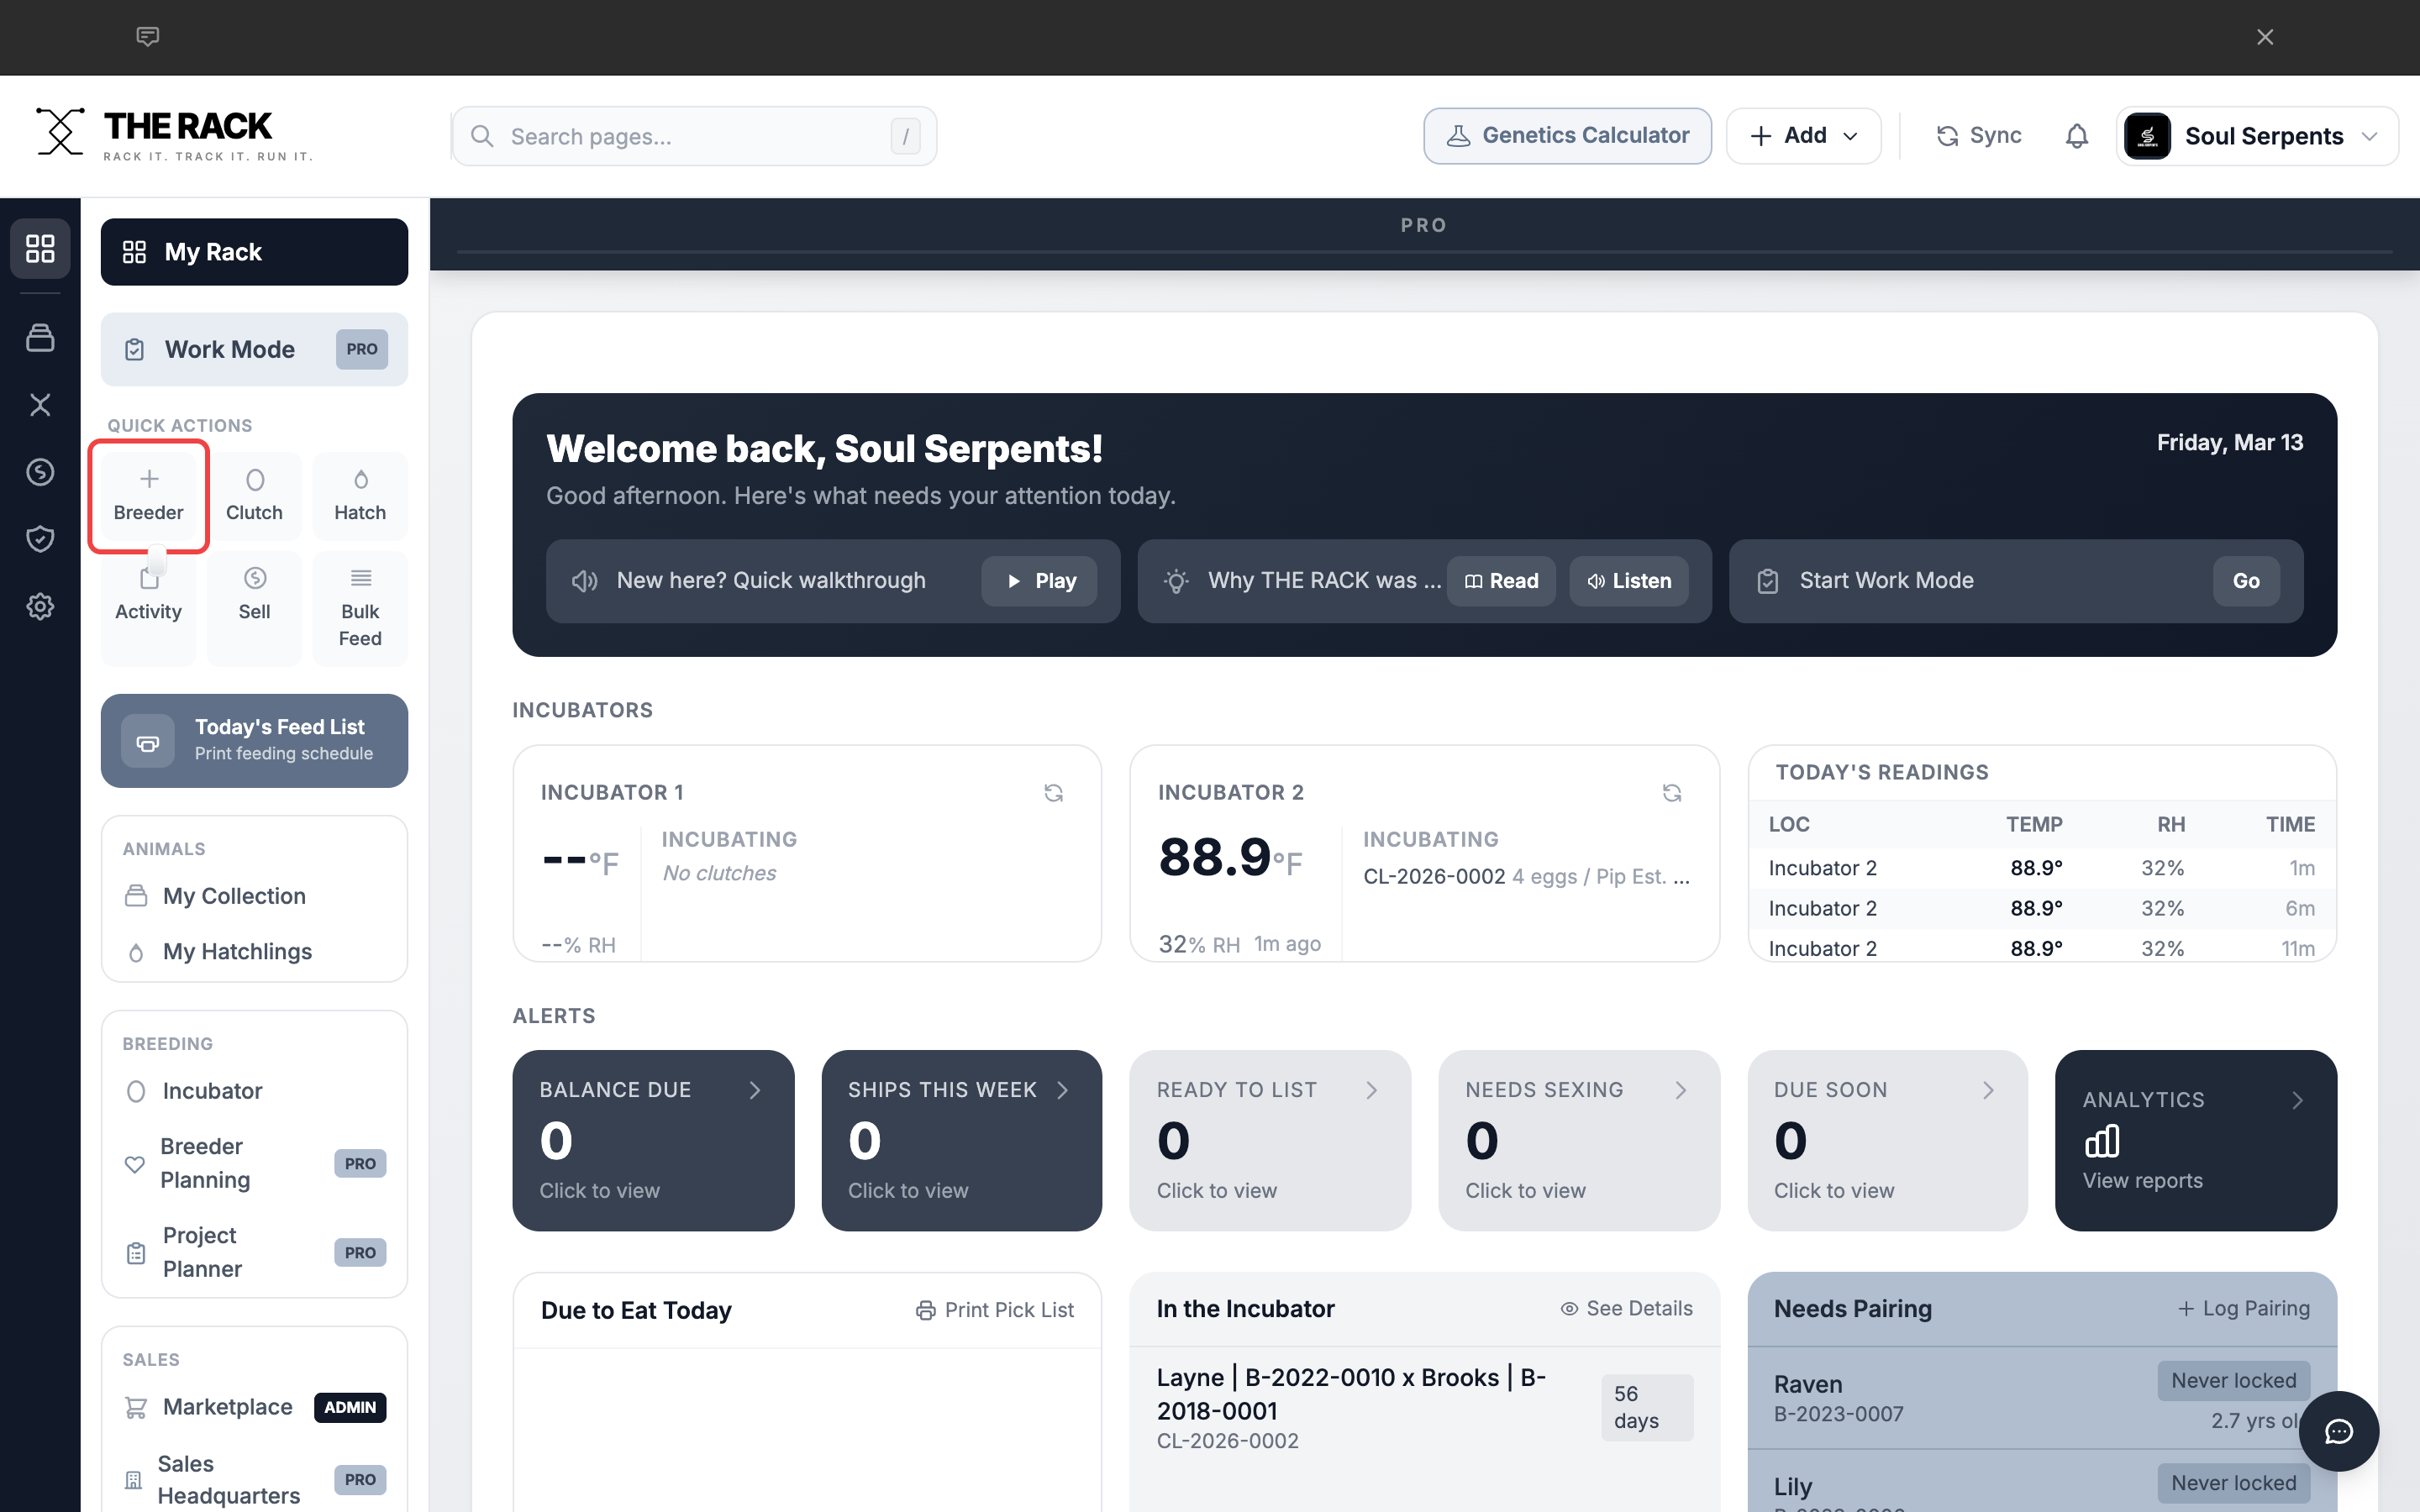
Click the Breeder button in Quick Actions to open the form.
Step 2: Form Overview
The Add Breeder form opens as a modal over your Dashboard. It has six sections from top to bottom:
- Photo -- Click the dashed area to upload an image. You can skip this and add a photo later from the animal's profile.
- Unique ID and Date of Birth -- The ID auto-generates when you enter a DOB.
- Identity -- Animal Name and Sex.
- Genetics -- Species, confirmed genes, and possible hets.
- Status and Care -- Status, prey, feeding interval, substrate.
- Acquisition -- Source, date, price, and purchase weight.
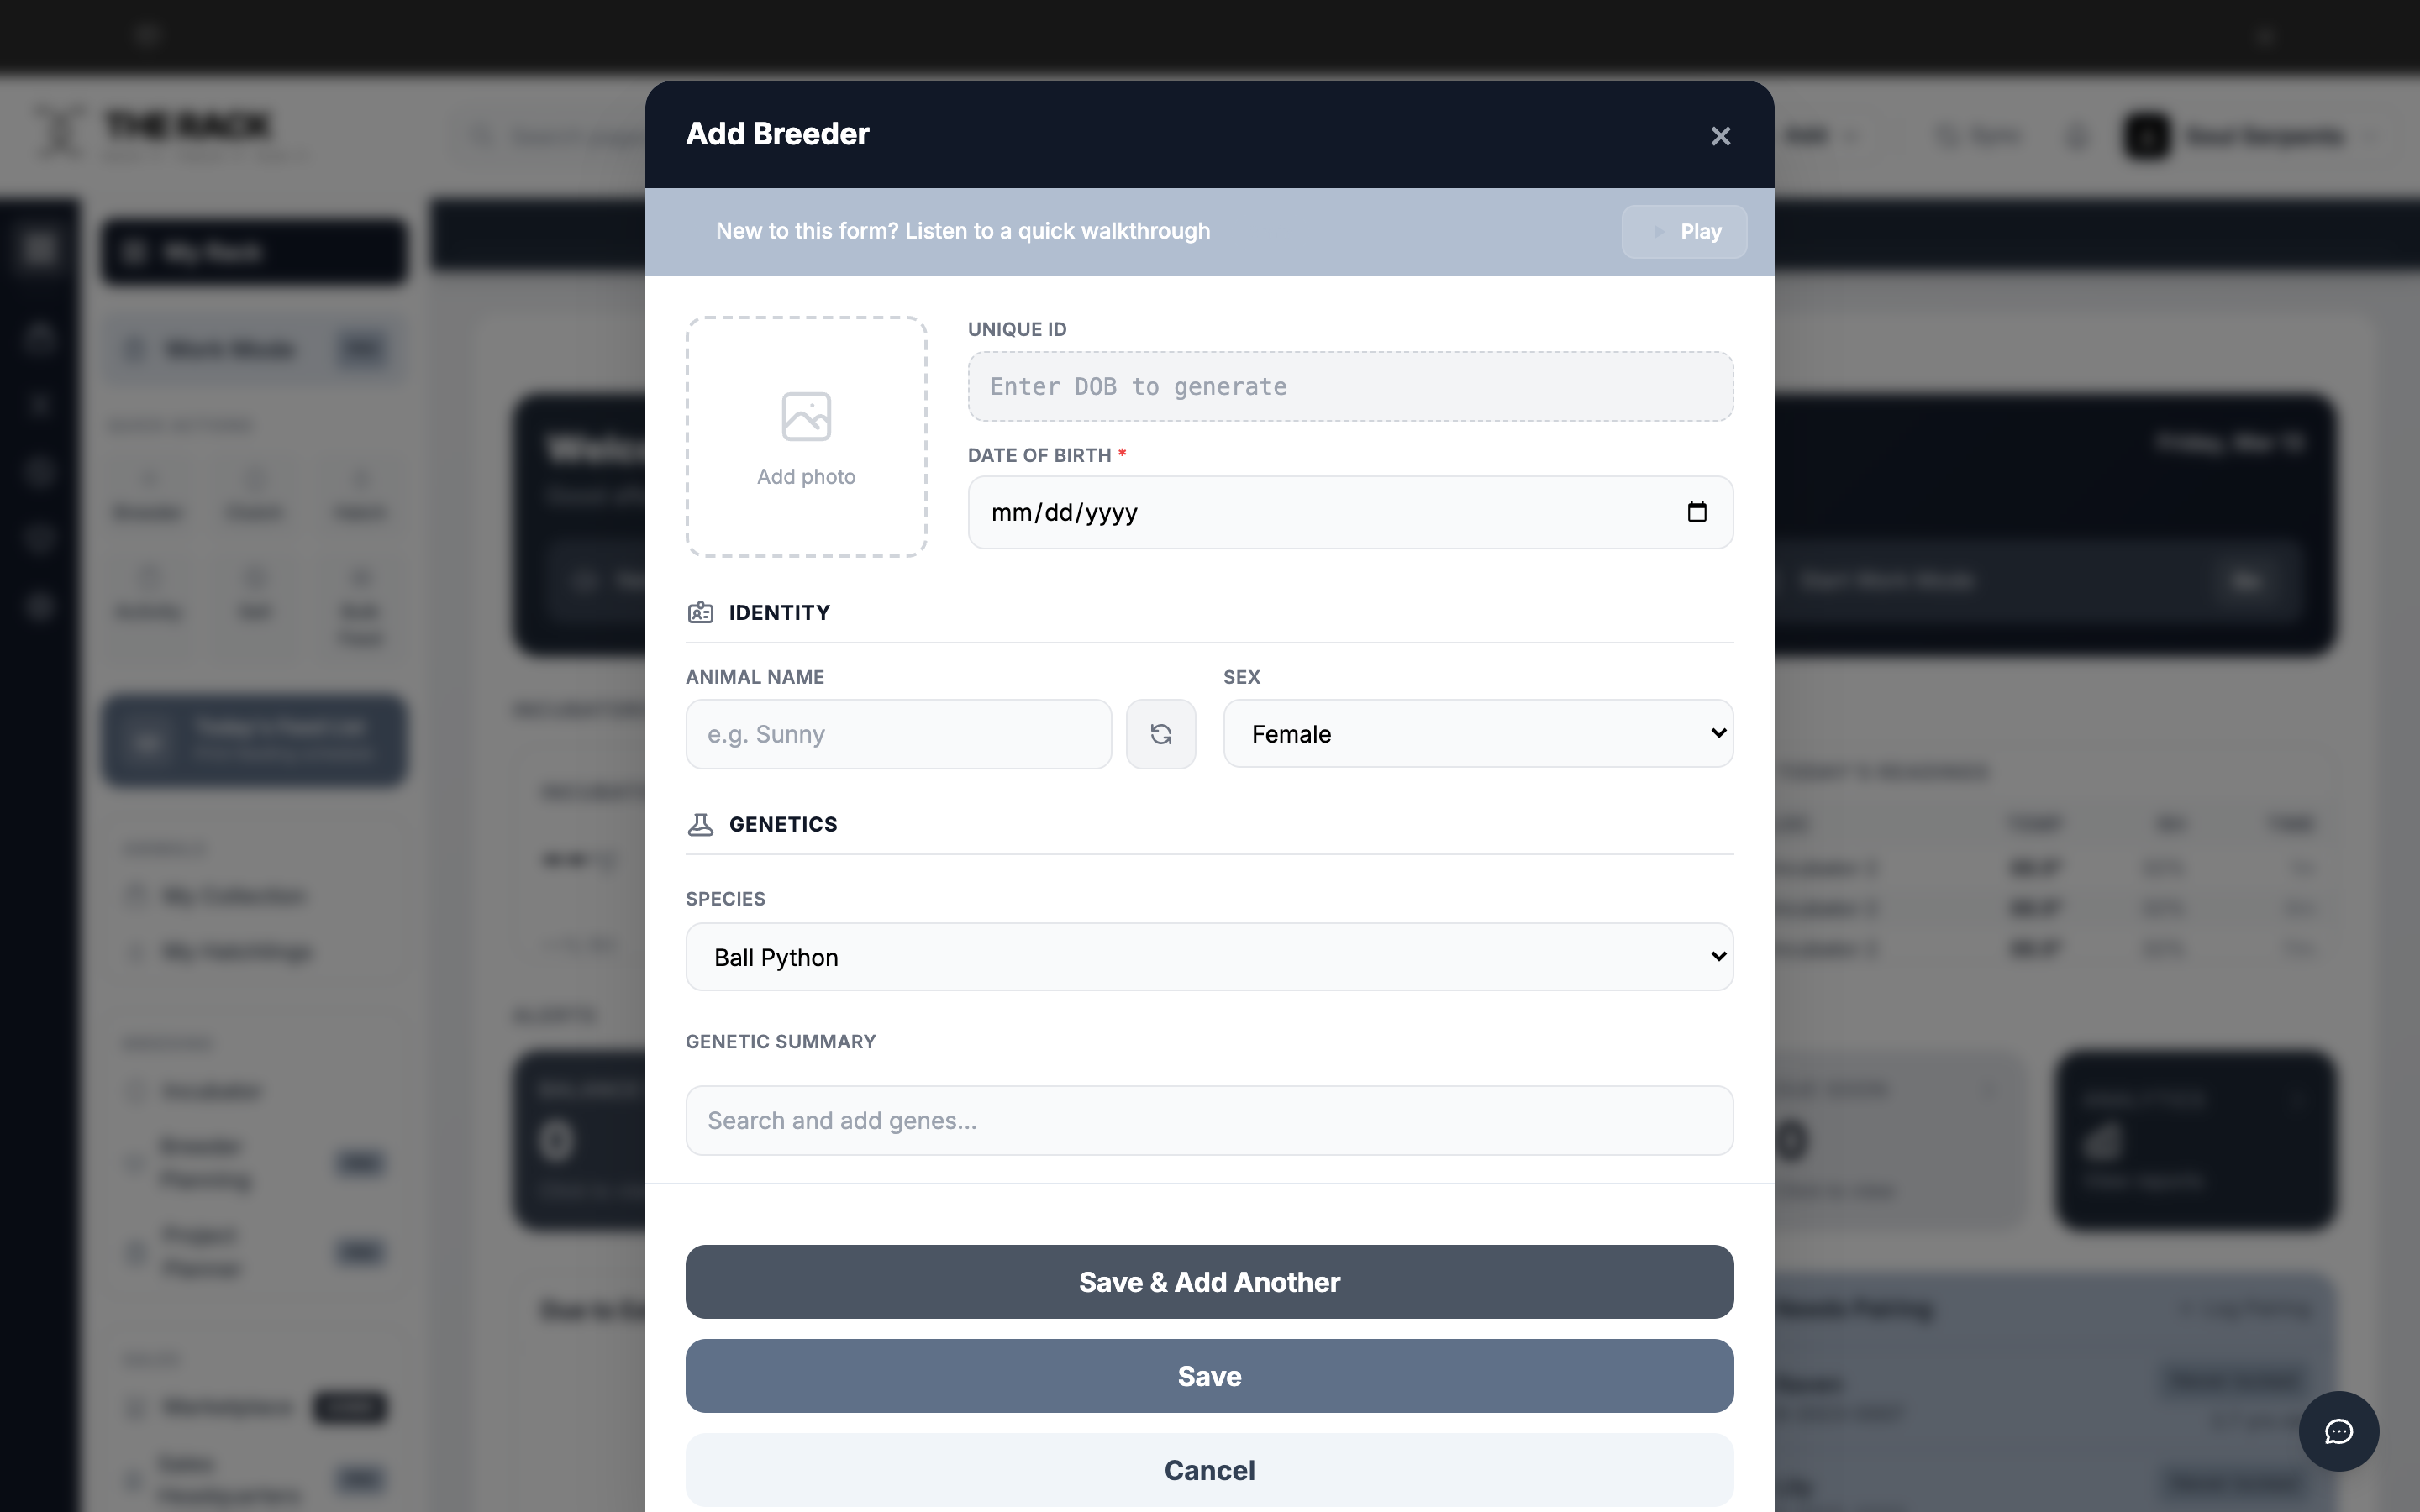
The Add Breeder form. Scroll down to see all sections.
Build your collection in minutes
Every Animal. Every Detail. One Profile.
THE RACK creates a full profile for every animal in your program. Identity, genetics, care preferences, acquisition history, and activity timeline. All searchable, all connected.
See Collection ManagementStep 3: Fill In the Identity Section
| Field | What to Enter | Status |
|---|---|---|
| Date of Birth | Select or type the hatch date. This triggers the Unique ID generation. | Required |
| Unique ID | Auto-generates from Date of Birth. Format: B-YYYY-NNNN. | Auto |
| Animal Name | Type a name or click the refresh icon to generate a random one from 3,100+ names. | Optional |
| Sex | Select Male, Female, or Unknown. Defaults to Female. | Optional |
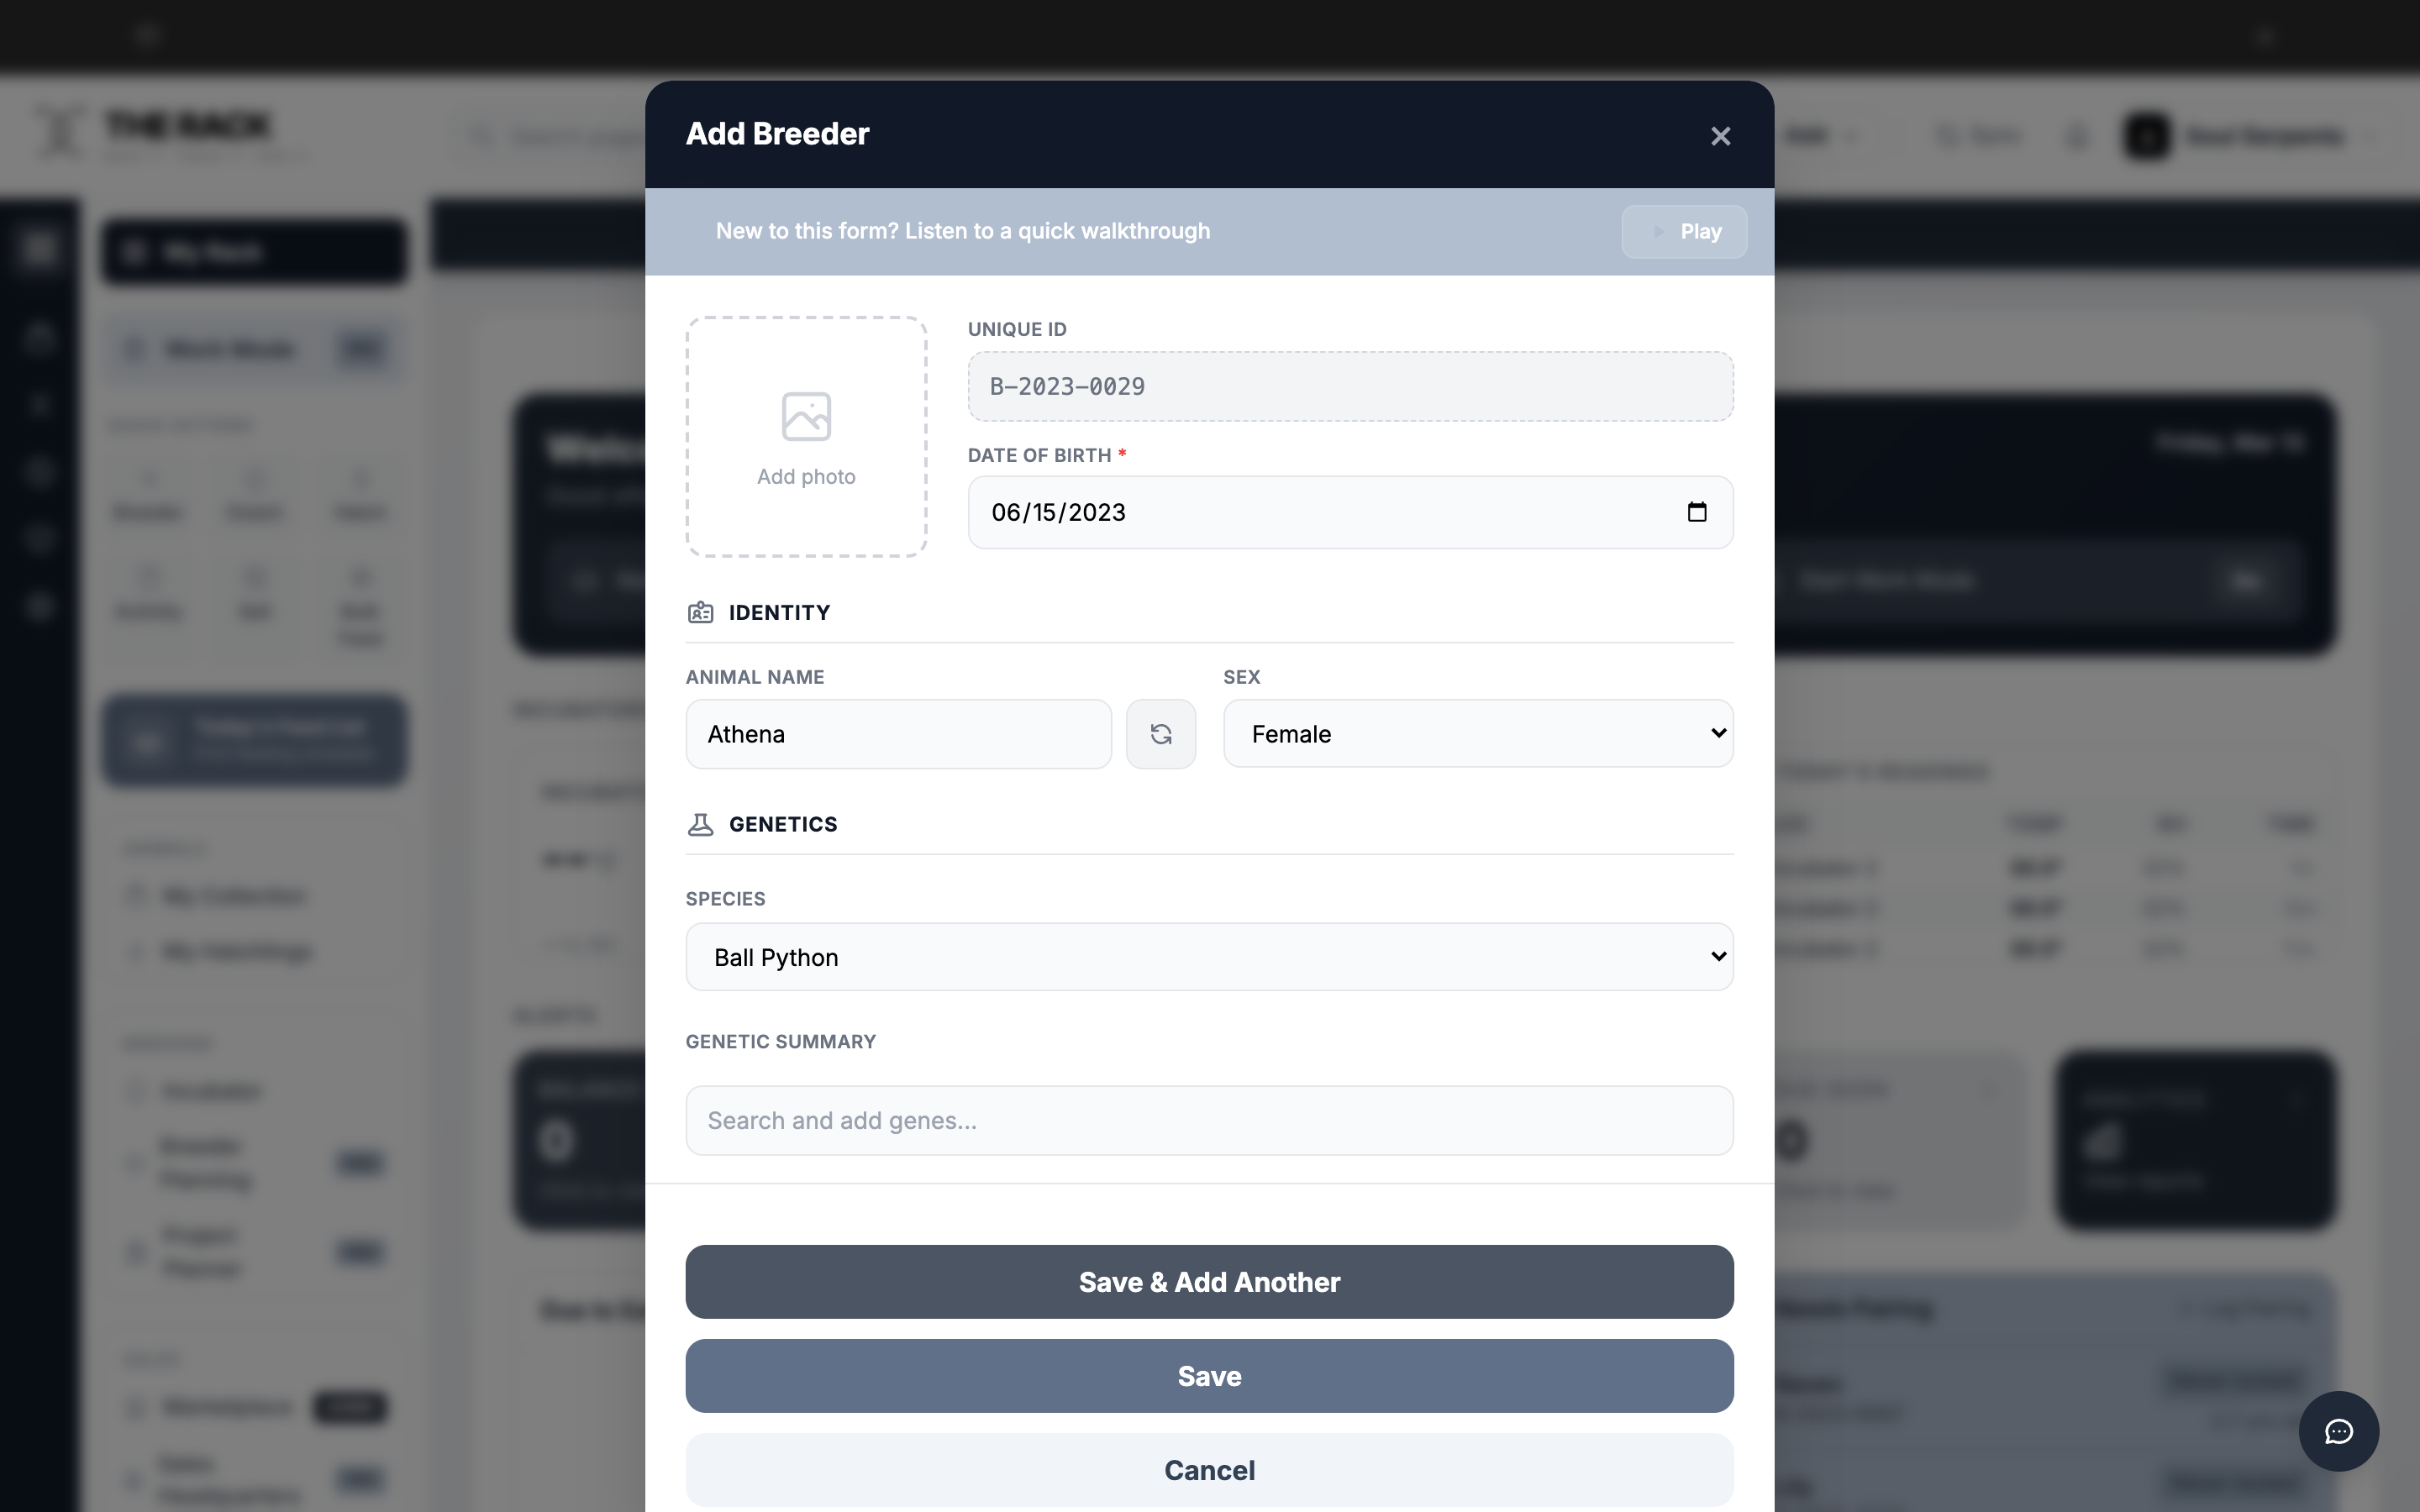
Once you enter a Date of Birth, the Unique ID generates automatically.
Step 4: Set the Genetics
Species defaults to Ball Python.
Genetic Summary: Click the search field and start typing a gene name. A dropdown appears with matching base genes and combos. Click a gene to add it. You can add multiple genes; each appears as a tag.
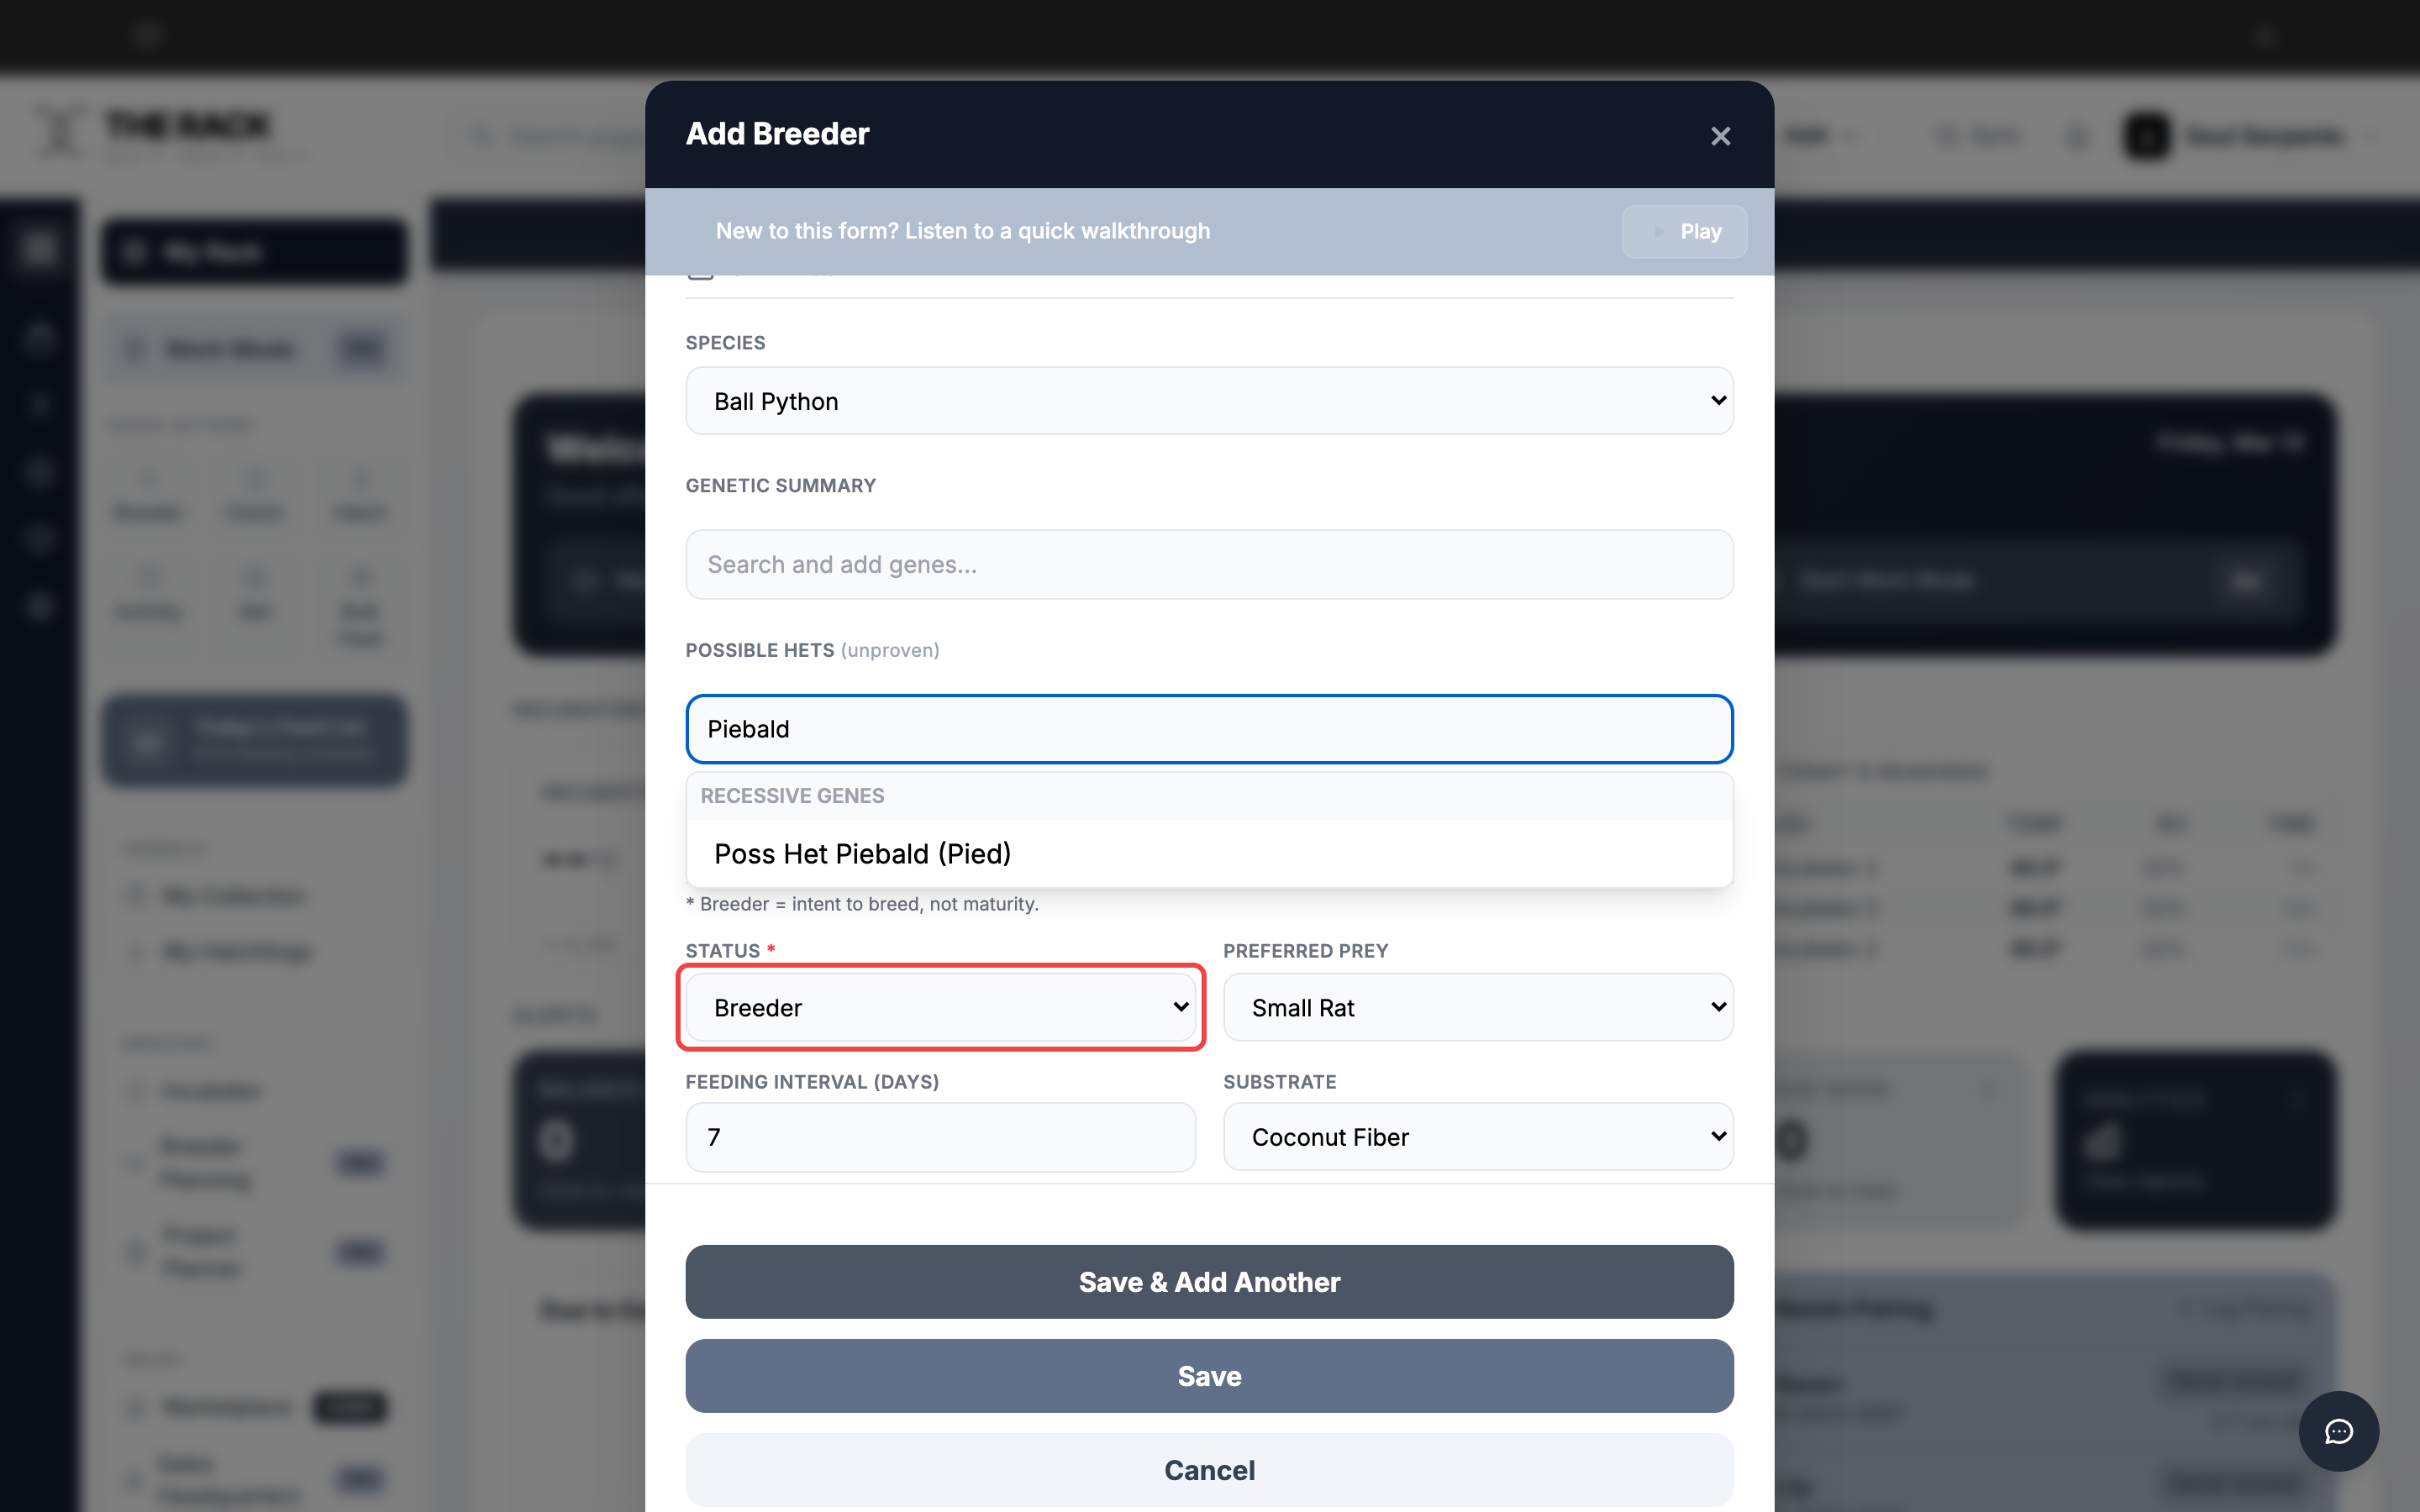
Possible Hets: Click the "Search recessive genes" field. Only recessive genes appear here. Select any unproven hets. These show with a dashed border to visually distinguish them from confirmed genes.
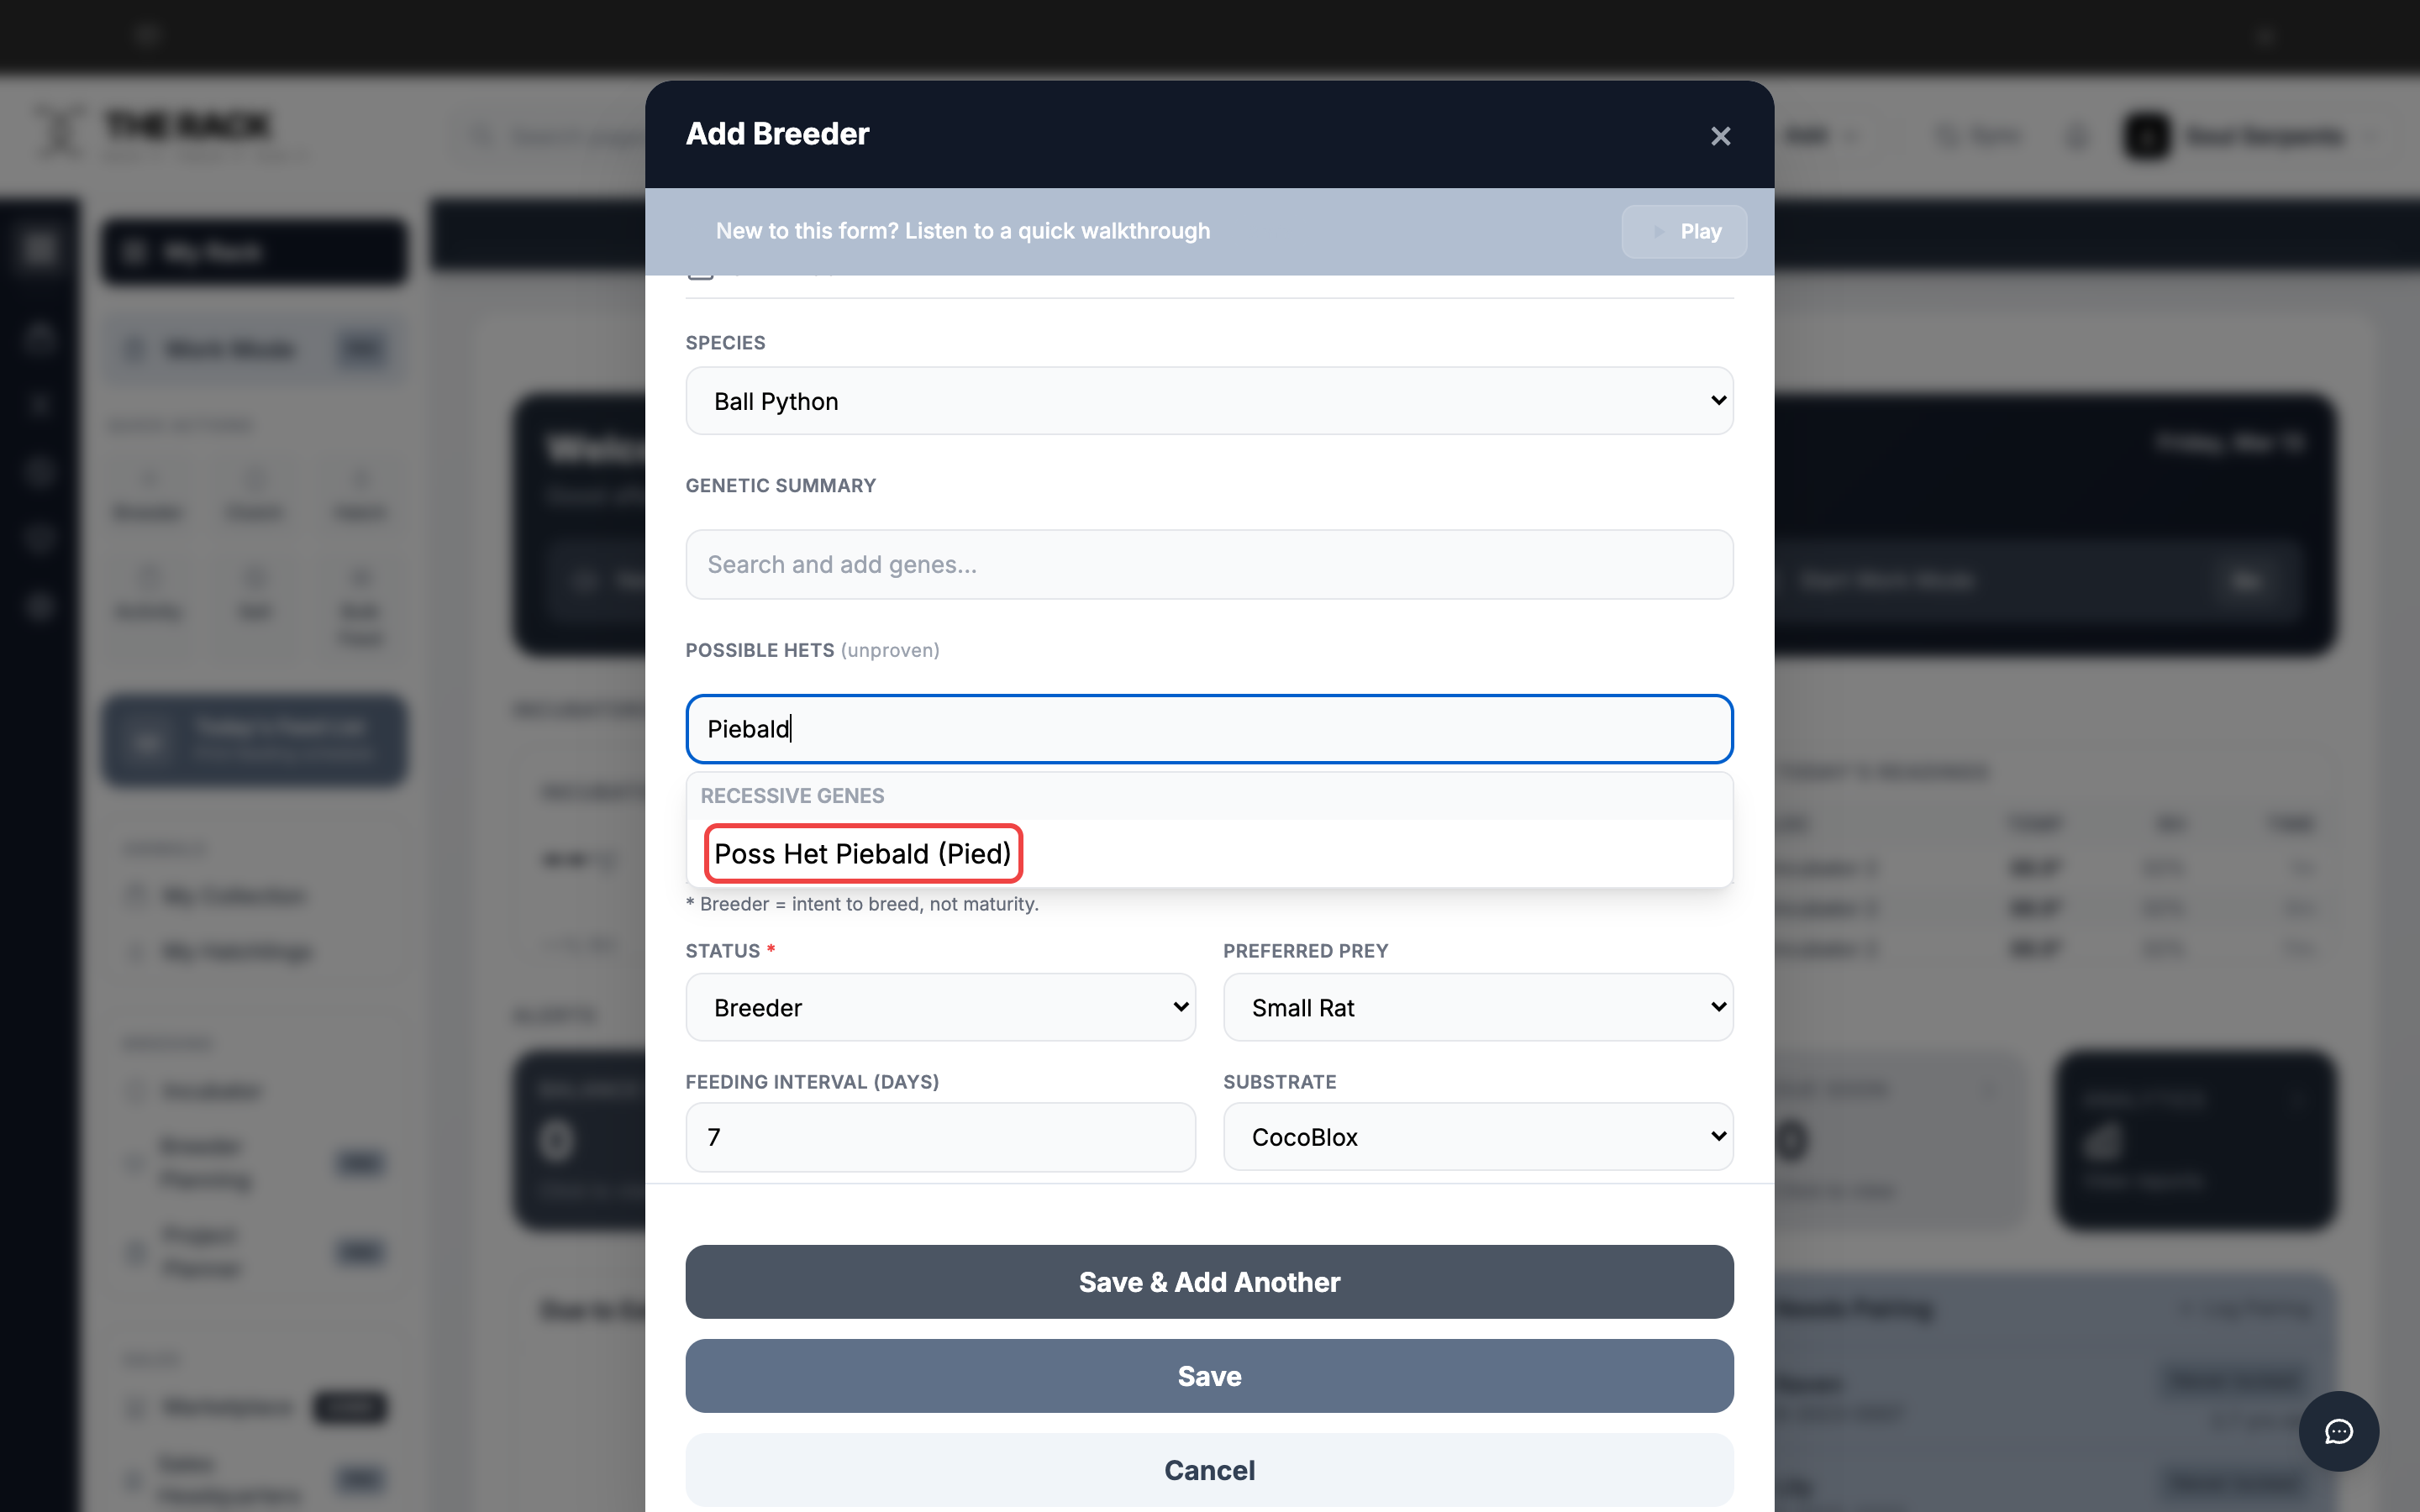
Searching for Piebald in Possible Hets. The dropdown shows matching recessive genes.
Step 5: Set Status and Care Preferences
| Field | What to Enter | Default |
|---|---|---|
| Status | Breeder, Holdback, Listed, Unlisted, On Hold, Sold, Pet Only, Deceased, Retired, or On Loan. | Breeder |
| Preferred Prey | Select from Pinky Mouse through Jumbo Rat, ASF sizes, Chick, Quail, or Other. | None |
| Feeding Interval | Number of days between feedings. | 7 days |
| Substrate | Coconut Fiber, CocoBlox, Cypress Mulch, Paper Towels, Paper, Aspen, Repti-Zorb, Bioactive, or Other. | None |
Status and Care filled: Breeder status, Small Rat prey, 7-day interval, Coconut Fiber substrate.
Step 6: Enter Acquisition Details
All fields in this section are optional. Fill in what you know.
| Field | What to Enter |
|---|---|
| Breeder Source | Who you purchased or acquired the animal from. |
| Date Acquired | The date you received the animal. |
| Purchase Price | What you paid, in dollars. Used for analytics and ROI tracking. |
| Weight at Purchase | Weight in grams at the time of purchase. |
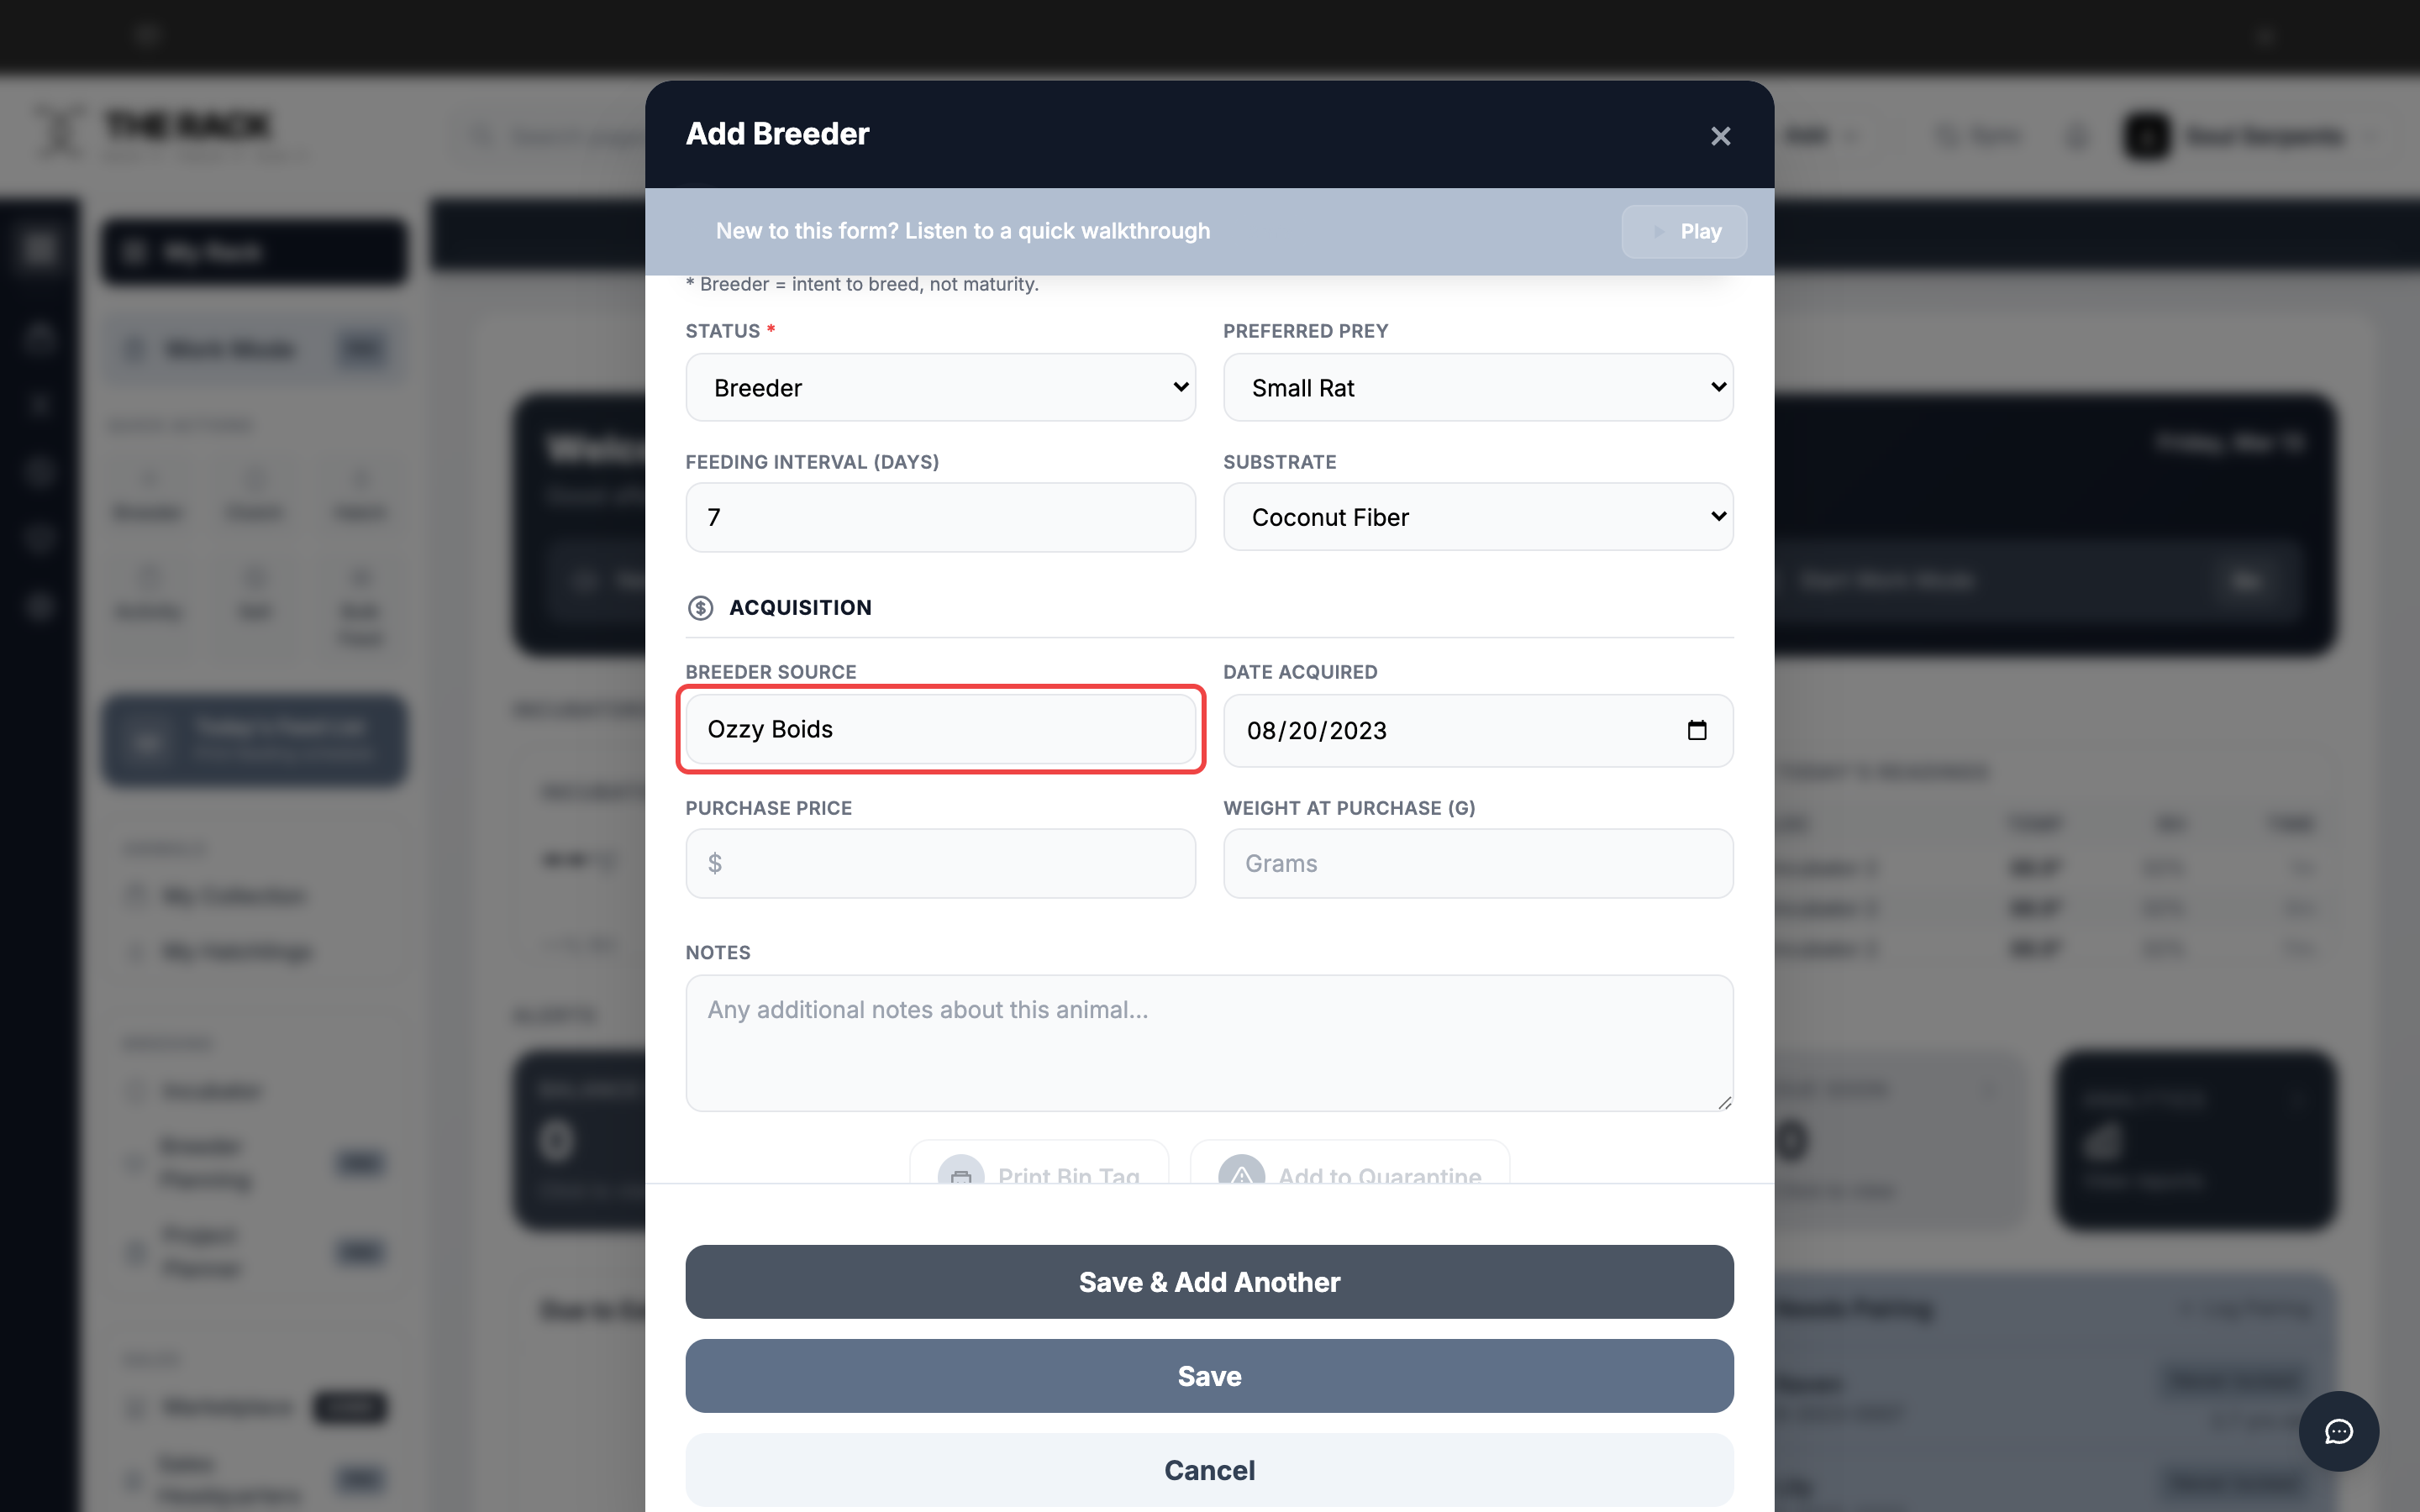
Acquisition details: source breeder, date acquired, purchase price, and weight.
Step 7: Add Notes and Save
Use the Notes field at the bottom for anything else about this animal. Temperament, lineage details, special care needs.
When you are done, you have two save options:
- Save and Add Another -- Saves the breeder and keeps the form open so you can immediately add the next one. Use this when adding multiple animals from the same clutch or shipment.
- Save -- Saves the breeder and closes the form. You return to the Dashboard.
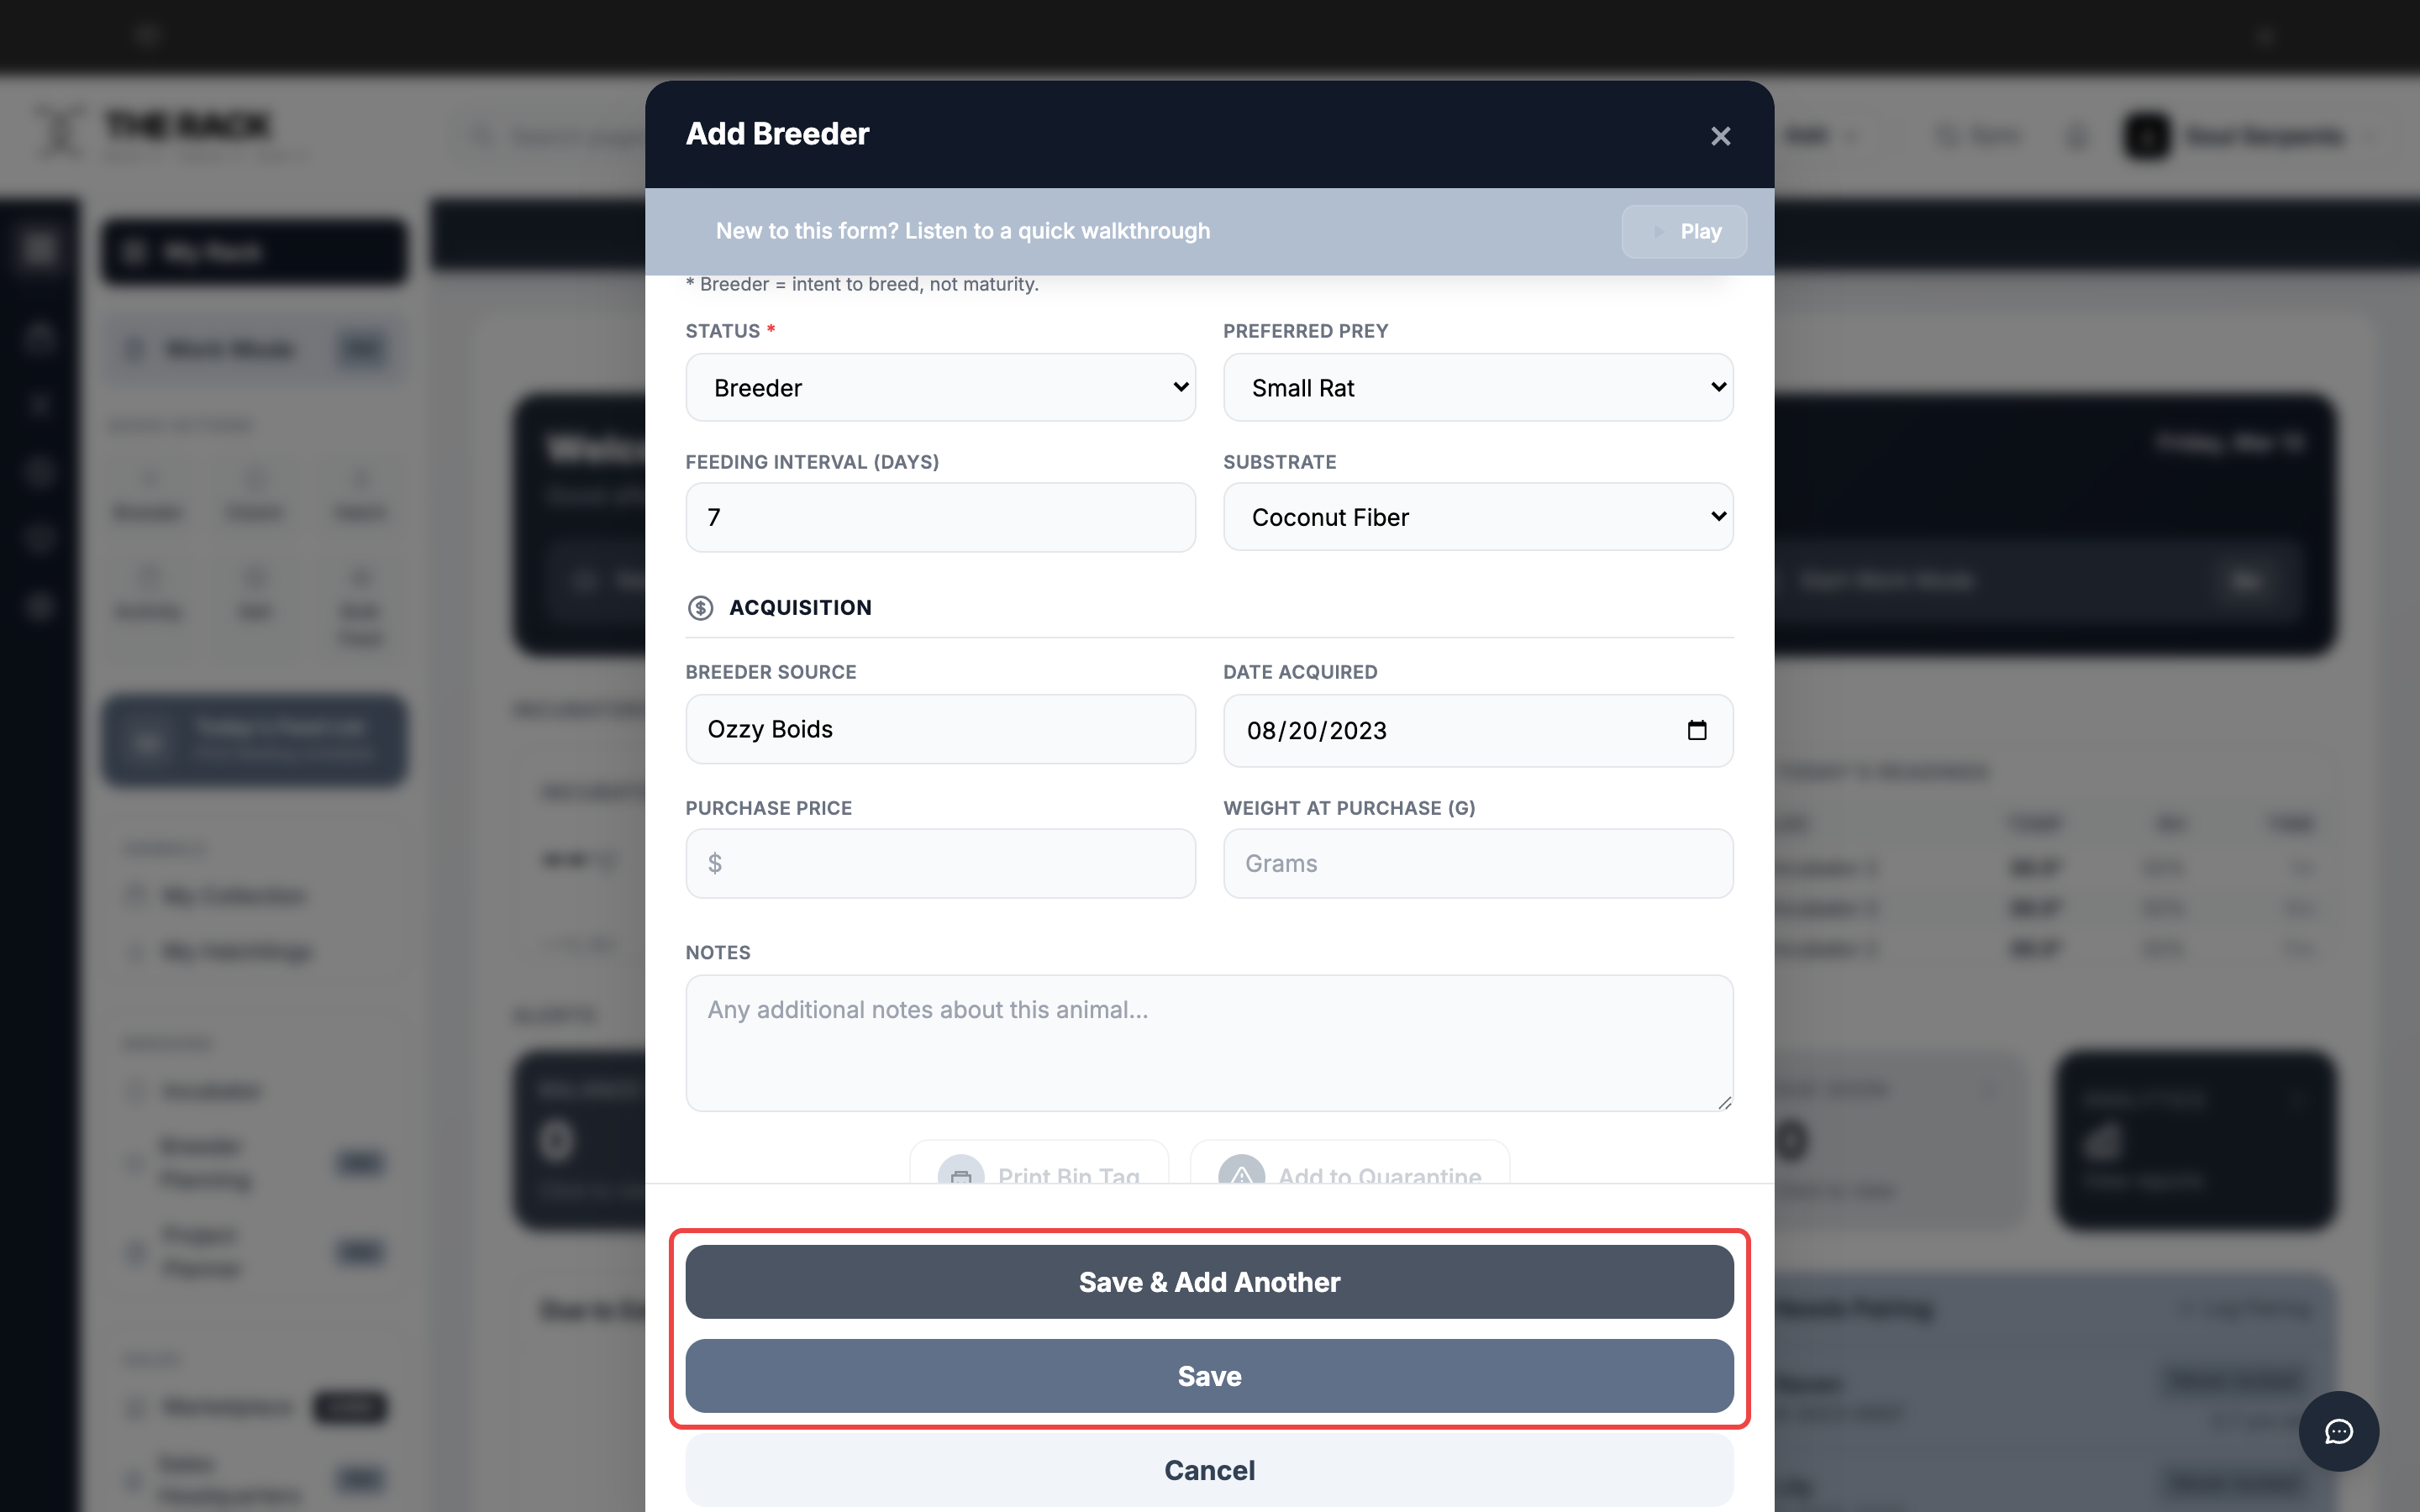
The Save buttons at the bottom of the form.
Screenshots and instructions verified against THE RACK v2.0. Last reviewed April 2026.
Built by a Breeder
Your Entire Collection,
One System
Animal profiles. Genetics tracking. Care preferences. Acquisition history. THE RACK is facility management software built for how breeders work.
See THE RACKFree for up to 5 animals. Keeper $10/mo. Breeder $20/mo. 7-day money-back guarantee.