News / How to Use Settings
How to Use Settings
- 5 minutes to configure. Set once, rarely changed. Every default you configure saves time on daily forms
- Business Profile controls what appears on invoices, report cards, and ship card inserts
- Breeding Settings set your incubation days, season start, quarantine defaults, and ID format
- Feeding Defaults pre-fill prey type, size, cost, and feeding interval on every meal entry
- Sharing and Privacy toggles whether buyers can view animal report cards via QR code
Settings is where you tell THE RACK how your program runs. Your business profile, breeding defaults, feeding preferences, invoice details, and privacy controls all live here. Most of these are set once and rarely changed, but every default you configure here saves time on the forms you use every day.
Sections
Step 1: Open the Settings Page
Click the gear icon at the bottom of the sidebar to open Settings. At the top of the page, the Account Overview card shows your current plan, total animals in your program, and active clutches.
The Settings page opens with your Account Overview at the top.
Step 2: Set Up Your Business Profile
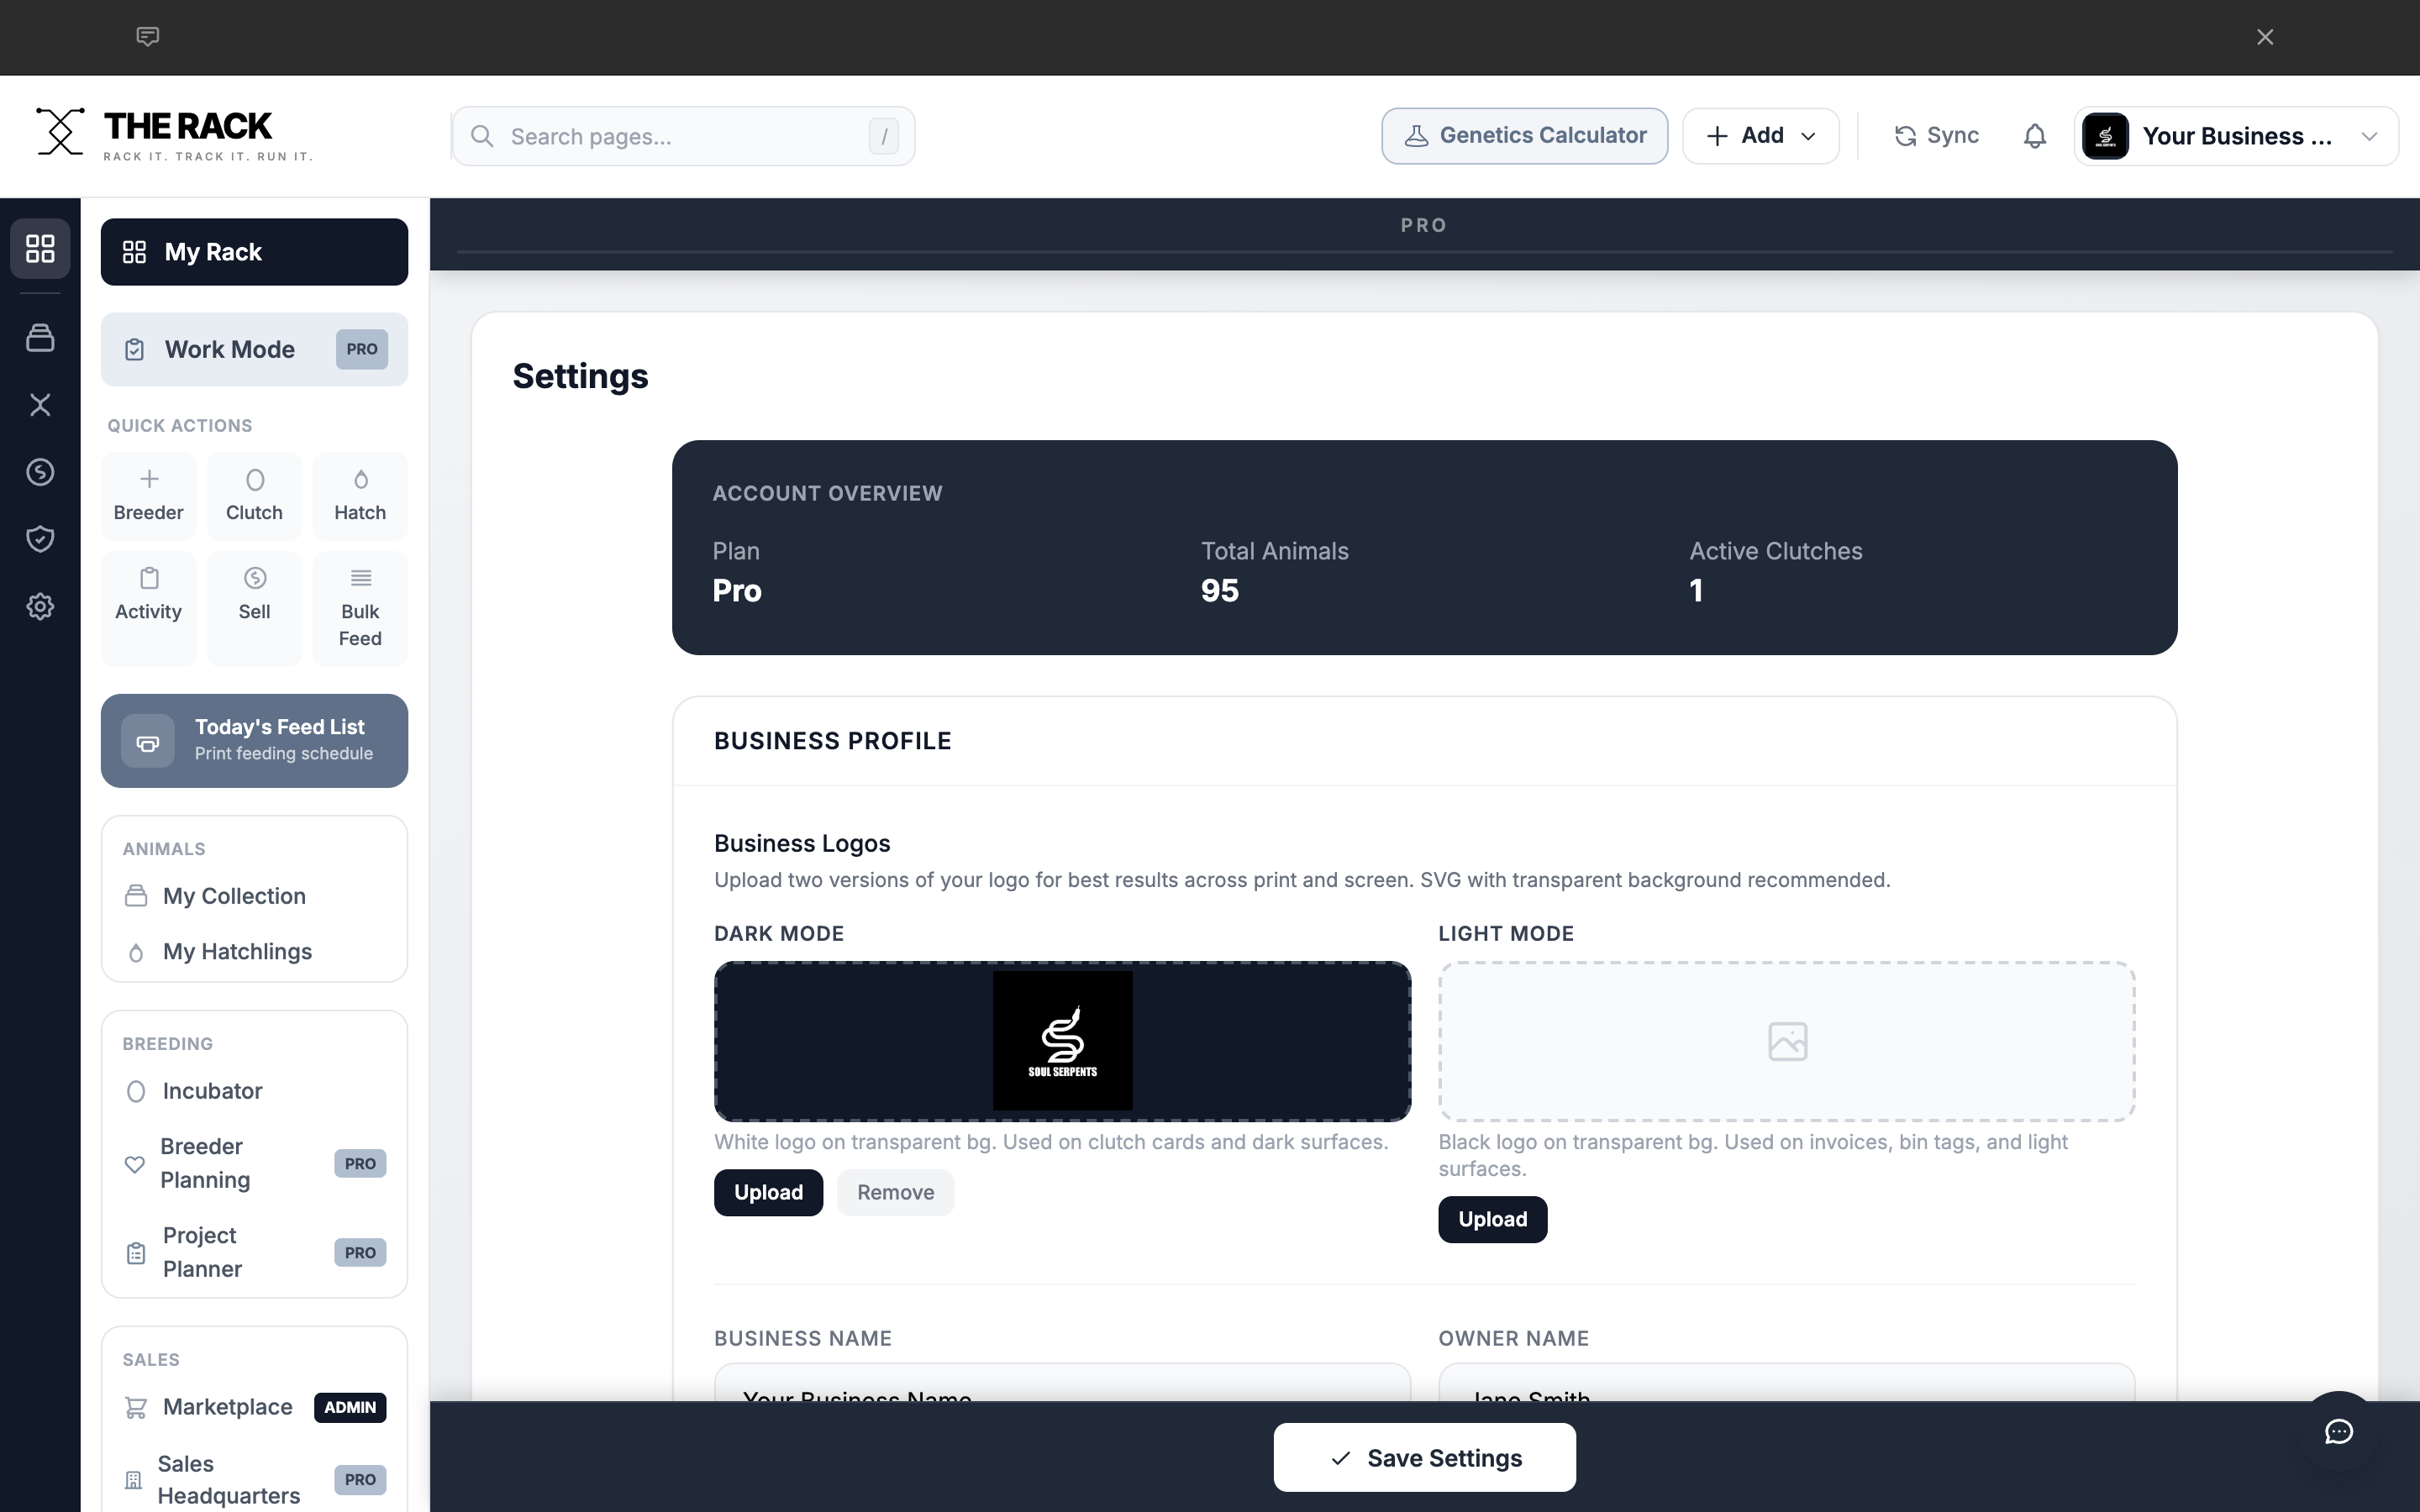
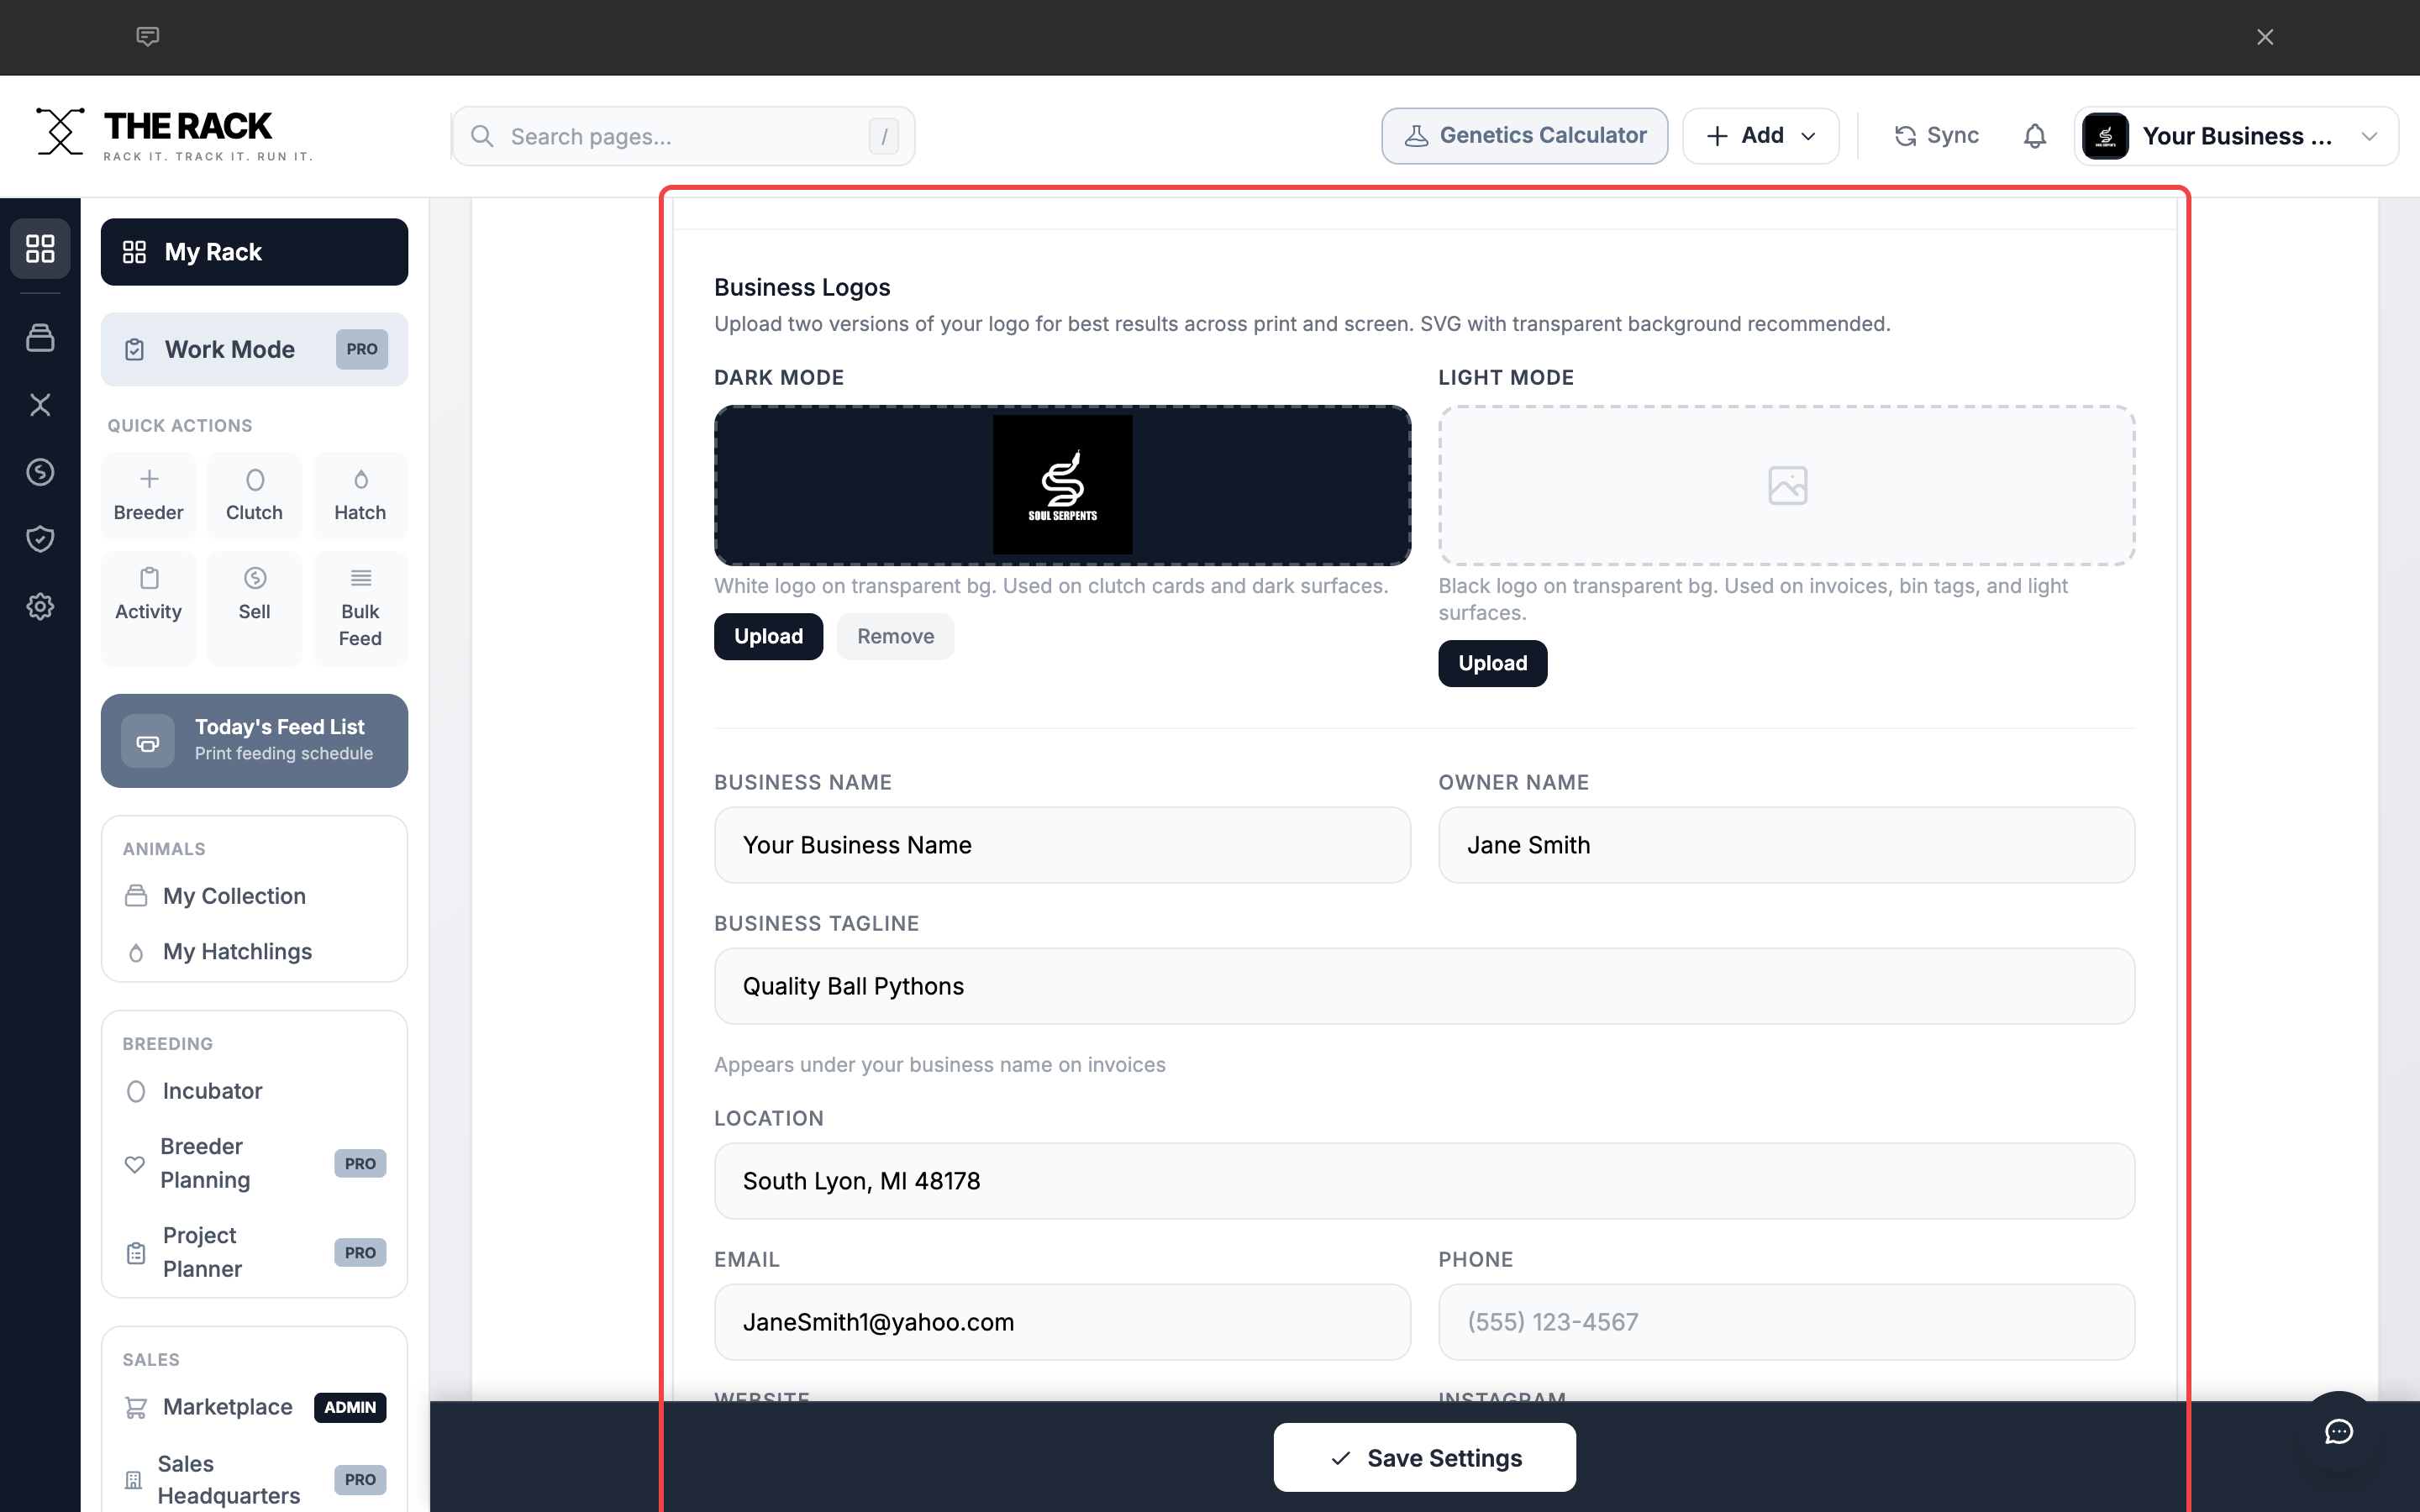
The Business Profile section controls what appears on your invoices, report cards, and ship card inserts.
| Field | What It Does |
|---|---|
| Business Logos | Upload dark mode and light mode logos. SVG with transparent background recommended. |
| Business Name | Appears on invoices, the Dashboard welcome card, and report cards. |
| Owner Name | Your name as the business owner. |
| Business Tagline | Short tagline under your business name on invoices. |
| Location | City, state, and zip code. |
| Email / Phone | Contact information shown on invoices. |
| Website / Instagram | Your web presence. Shown on invoices and report cards. |
The Business Profile section controls what appears on your invoices and public-facing documents.
Professional invoices and report cards
Your Brand. Your Logo. On Every Document.
THE RACK generates branded invoices, QR report cards, and ship card inserts using the business profile you configure in Settings. Set it once, and every document carries your brand.
See Business ToolsStep 3: Configure Breeding Settings
| Field | What It Does |
|---|---|
| Default Species | Pre-fills the species field when adding new animals. |
| Incubation Days | Calculates estimated hatch dates. Default is 55 days. |
| Season Start | The month your breeding season begins. |
| Unique ID Mode | Auto-Generate (B-2025-0001) or Custom IDs. |
| Quarantine Days | Default quarantine period for new arrivals. |
| Ready to List Days | Age when hatchlings appear in the Ready to List queue in Sales HQ. |
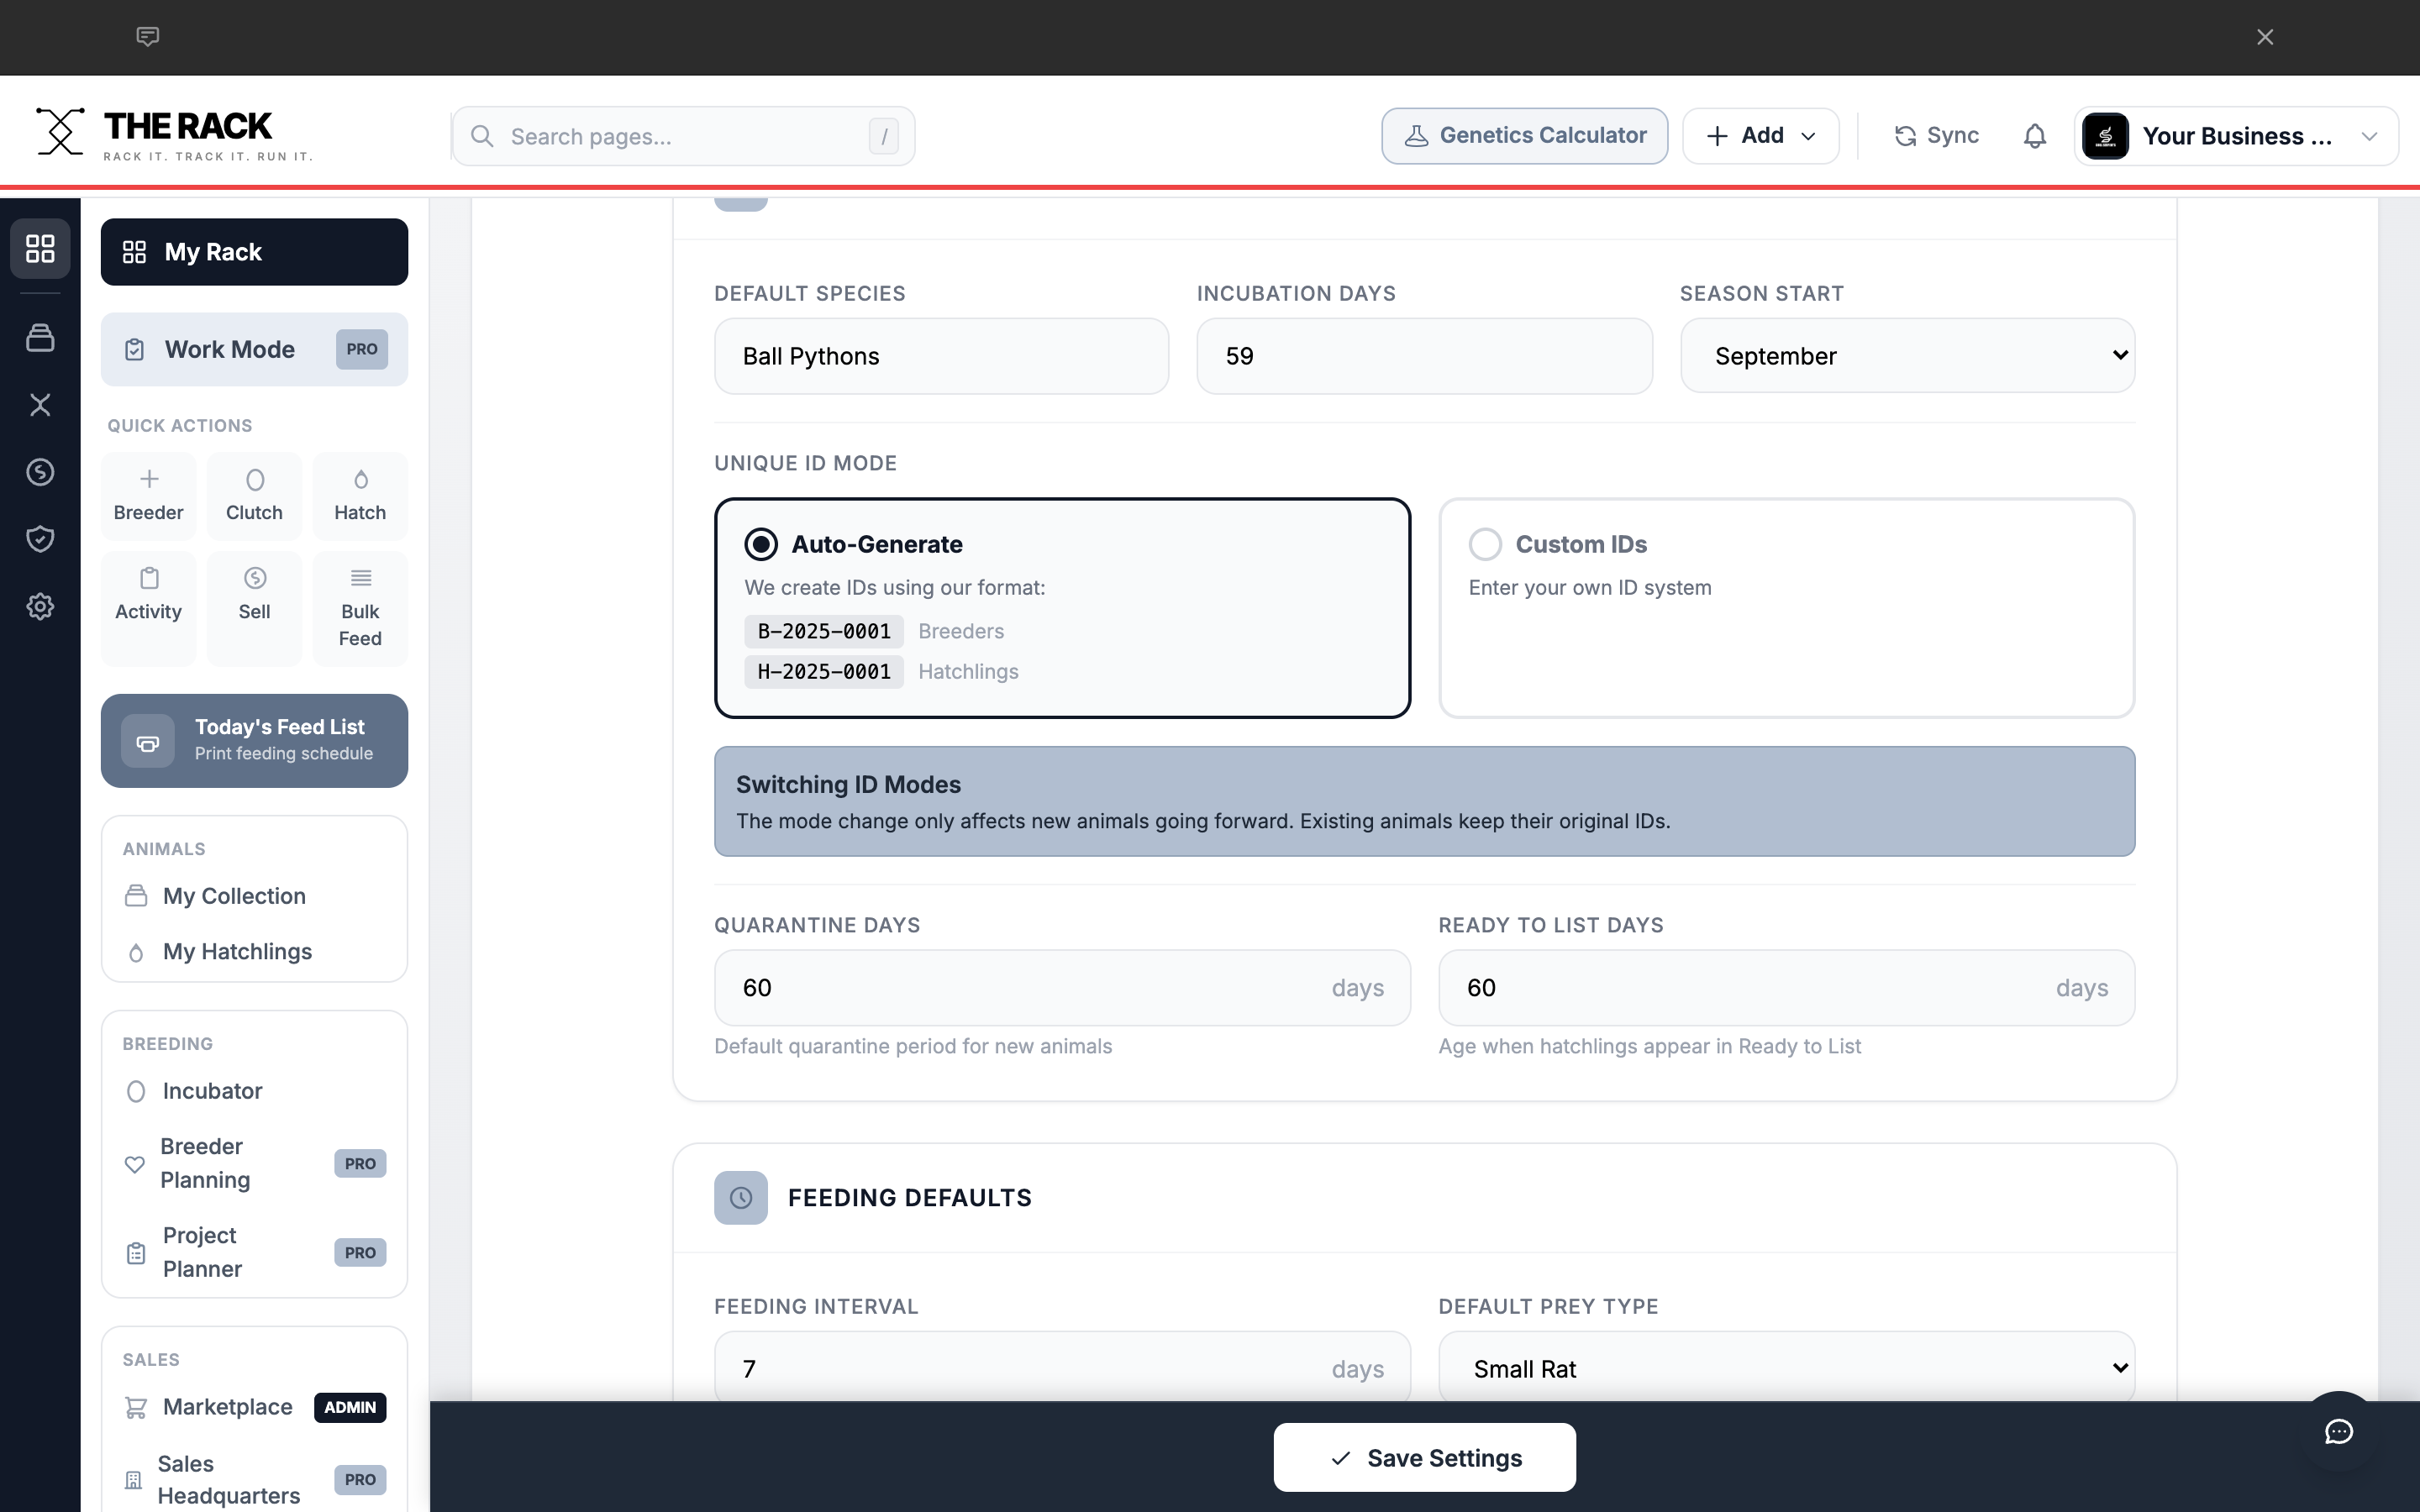
Breeding Settings control your incubation estimates, ID format, and quarantine defaults.
Step 4: Set Feeding Defaults
| Field | What It Does |
|---|---|
| Feeding Interval | Days between feedings. Determines when animals appear in Due to Eat Today. |
| Default Prey Type | Pre-selected prey when logging a meal. |
| Adult Prey Size | Default prey size for adult breeders. |
| Hatchling Prey Size | Default prey size for hatchlings. |
| Default Prey Cost | Cost per prey item for feeding cost analysis. |
| Min Meals Before Sale | Successful meals needed before showing as ready in Sales HQ. |
You can override any of these defaults per animal in their individual profile.
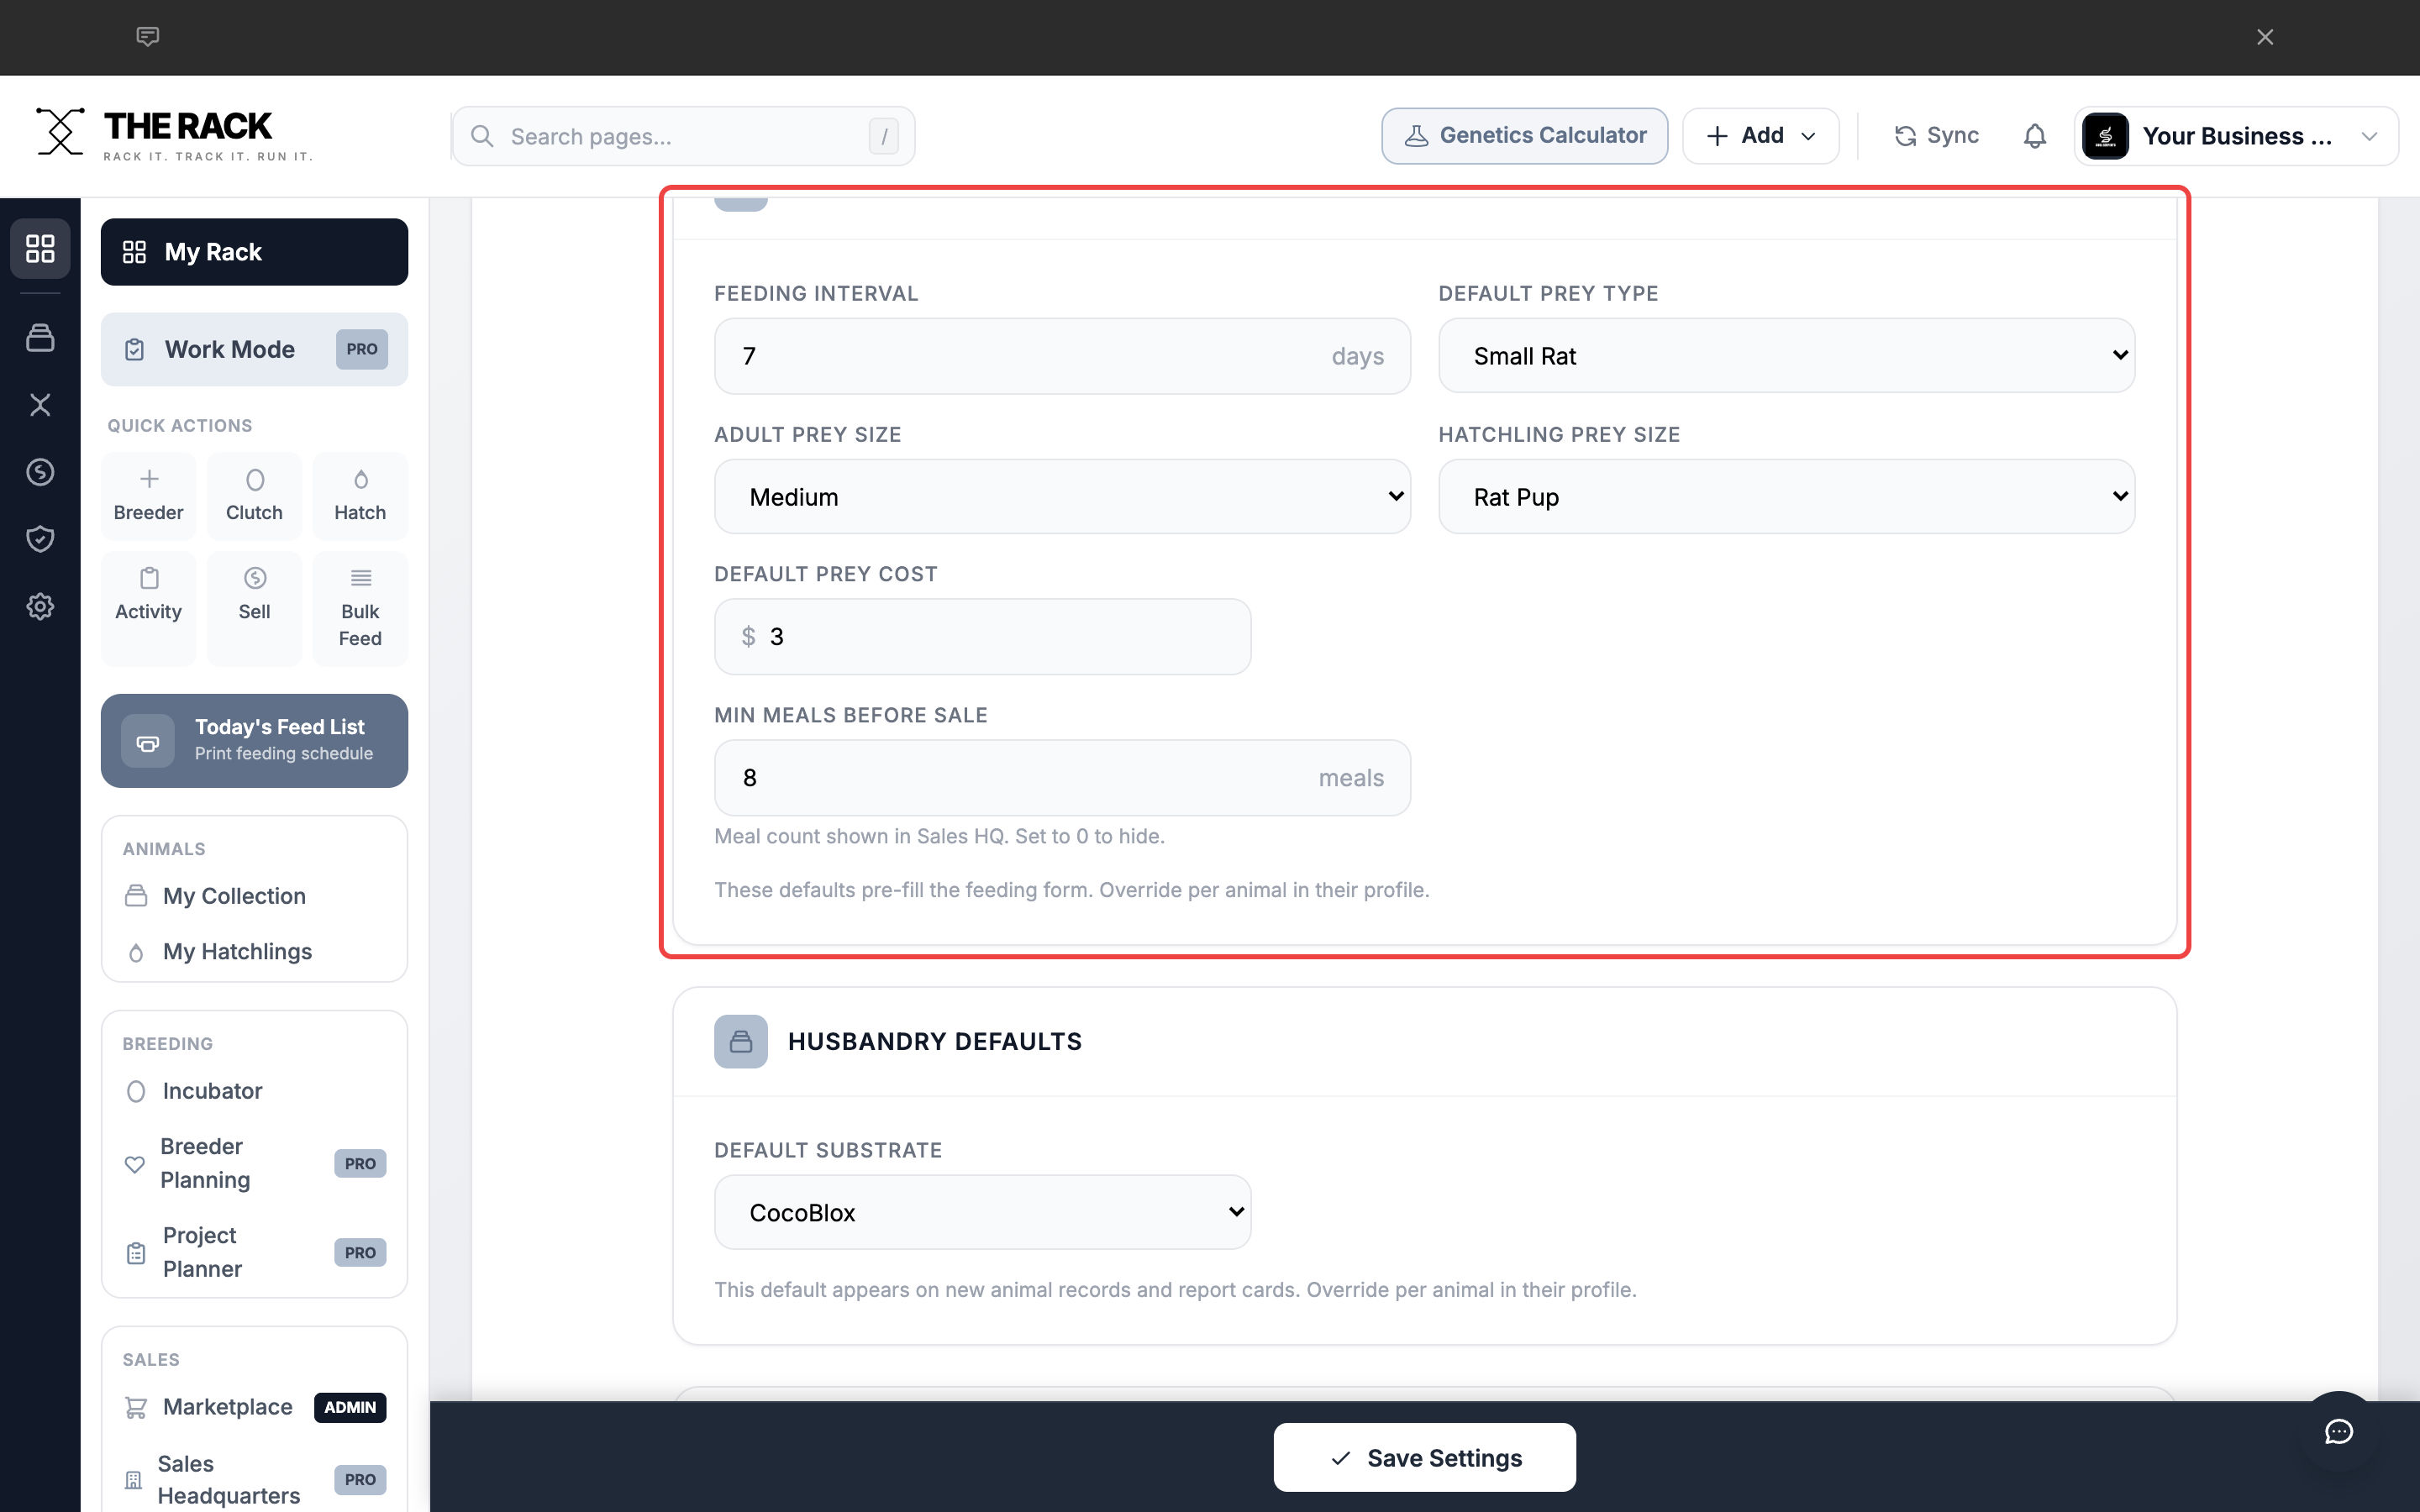
Feeding Defaults save time by pre-filling values on every feeding form.
Step 5: Manage Sharing and Privacy
The Sharing and Privacy section controls what buyers can see when they scan the QR code on your ship card inserts.
Toggle Public Report Cards on to let buyers view the animal's report card, including genetics, feeding history, and weight records. Toggle it off to hide all report cards from public view.
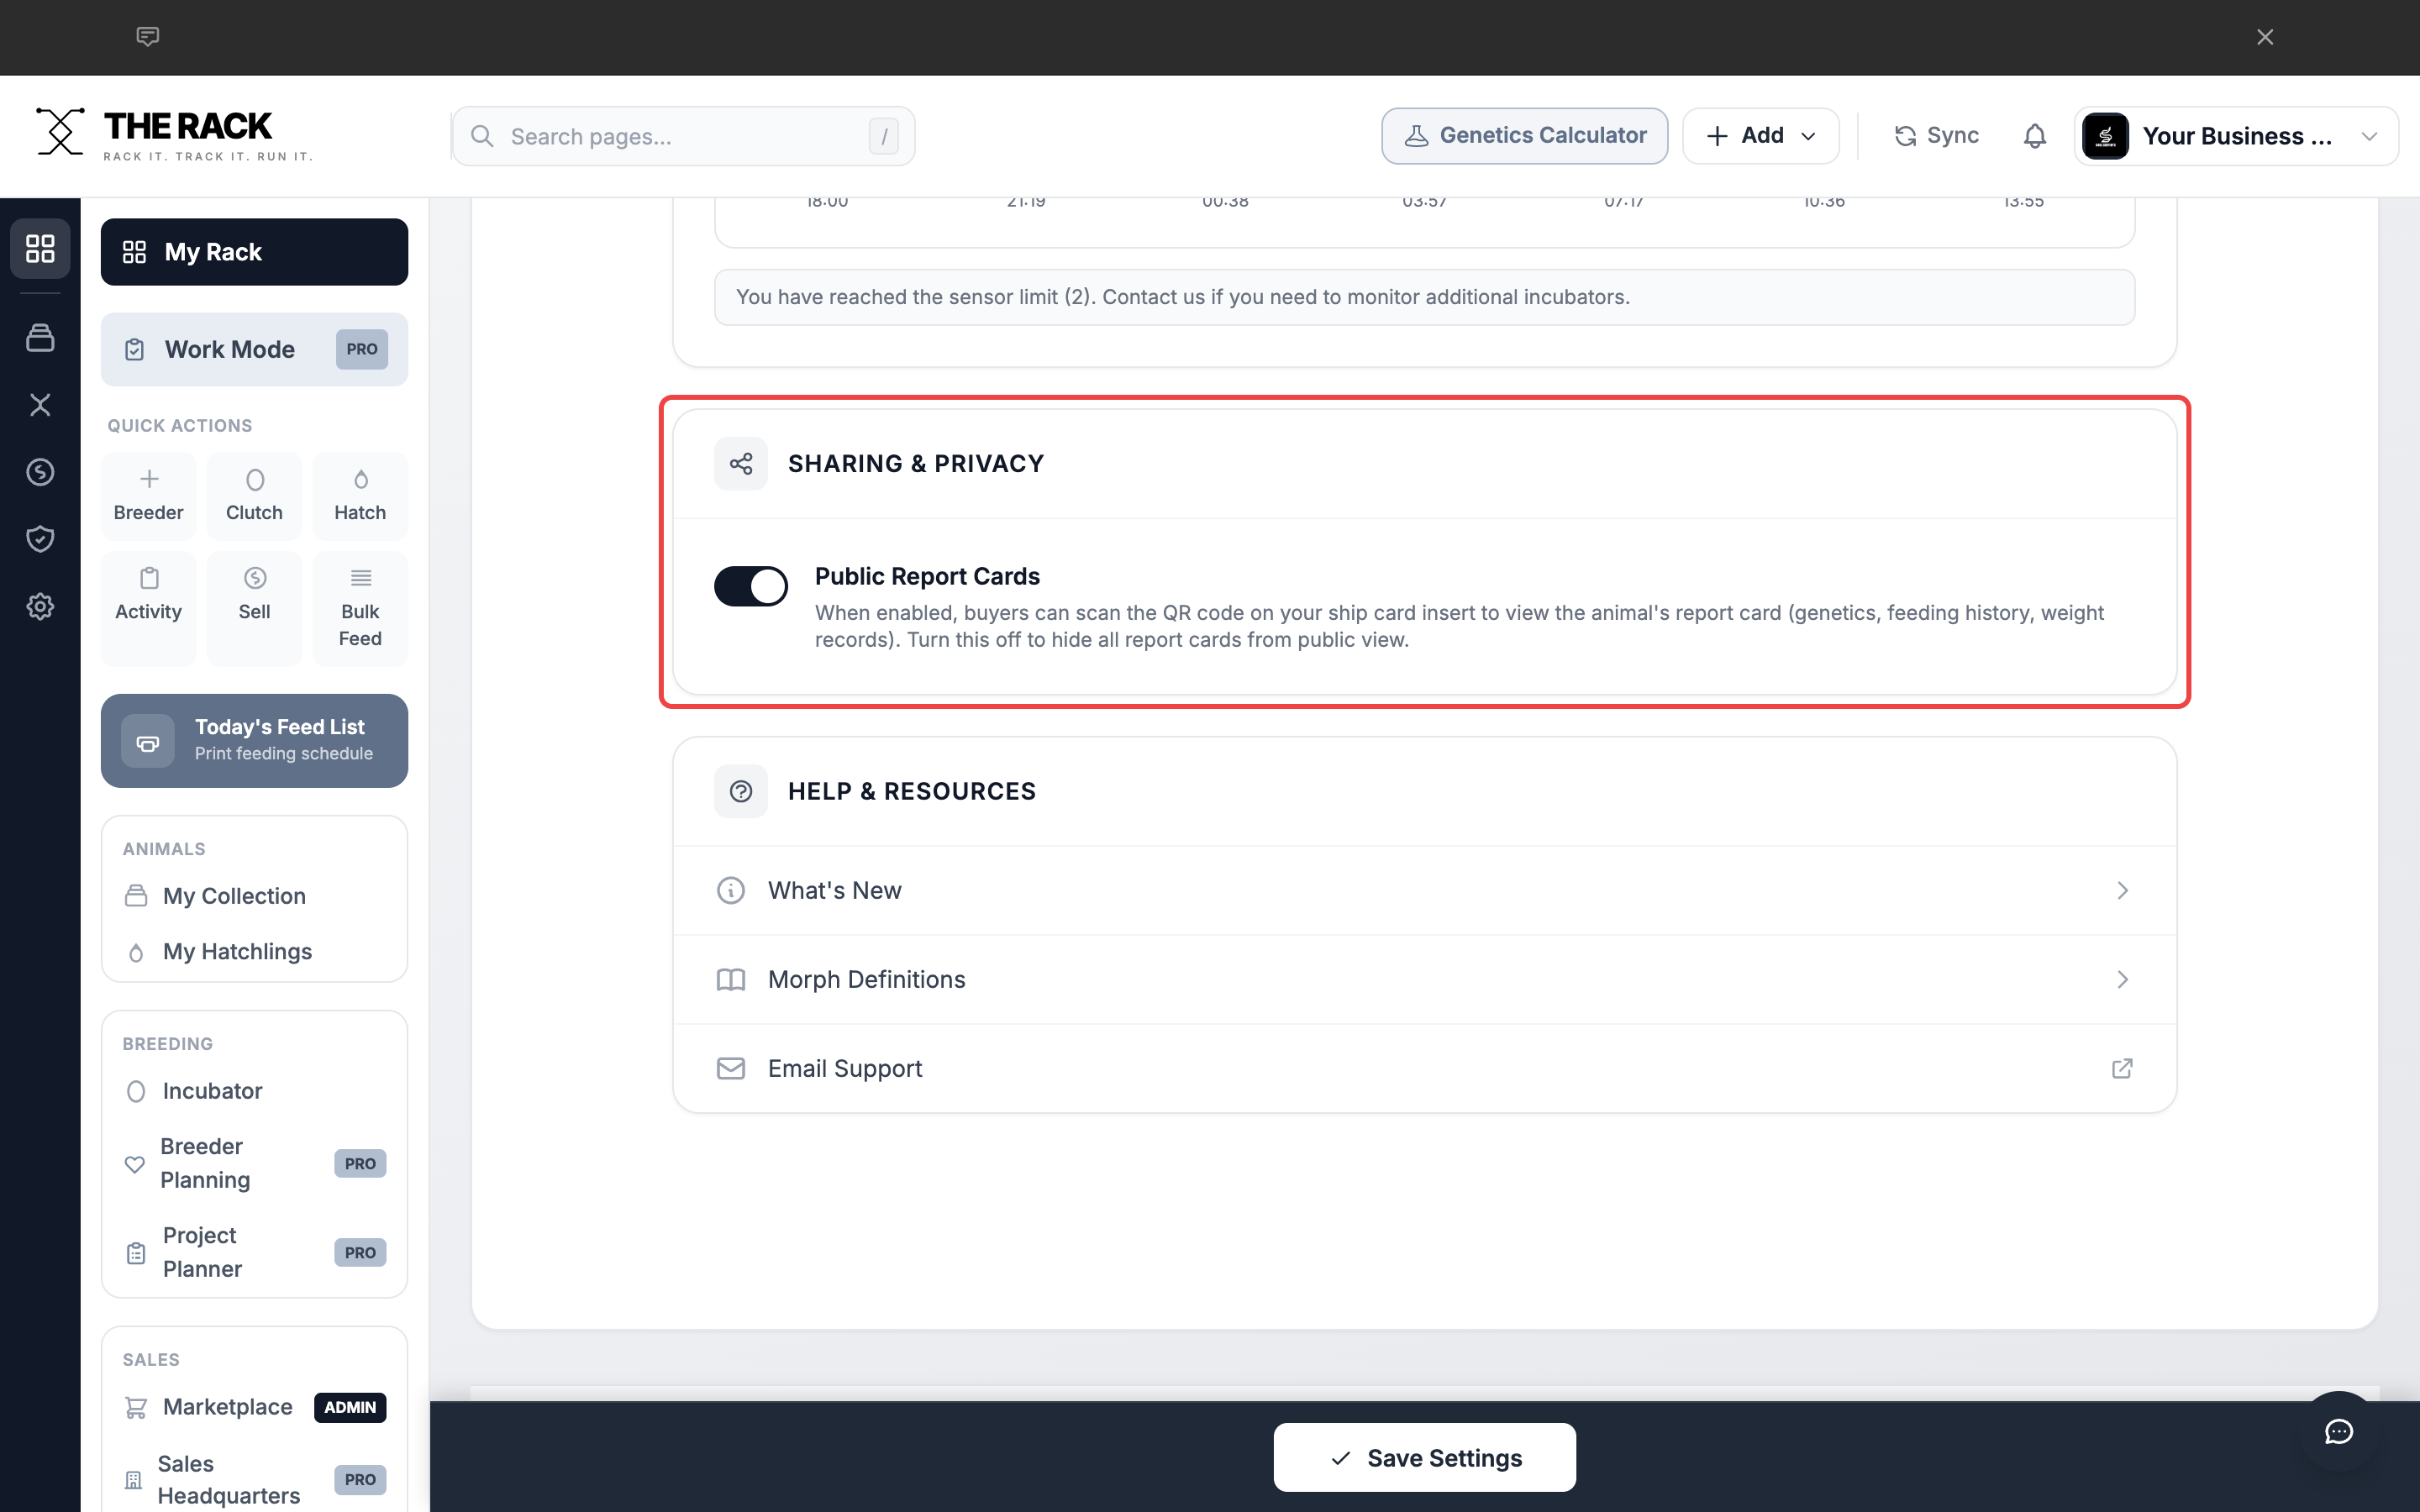
The Sharing and Privacy toggle controls buyer access to report cards via QR code.
Step 6: Save Your Changes
After making any changes, click the Save Settings button at the bottom of the page. Your changes will not take effect until you save.
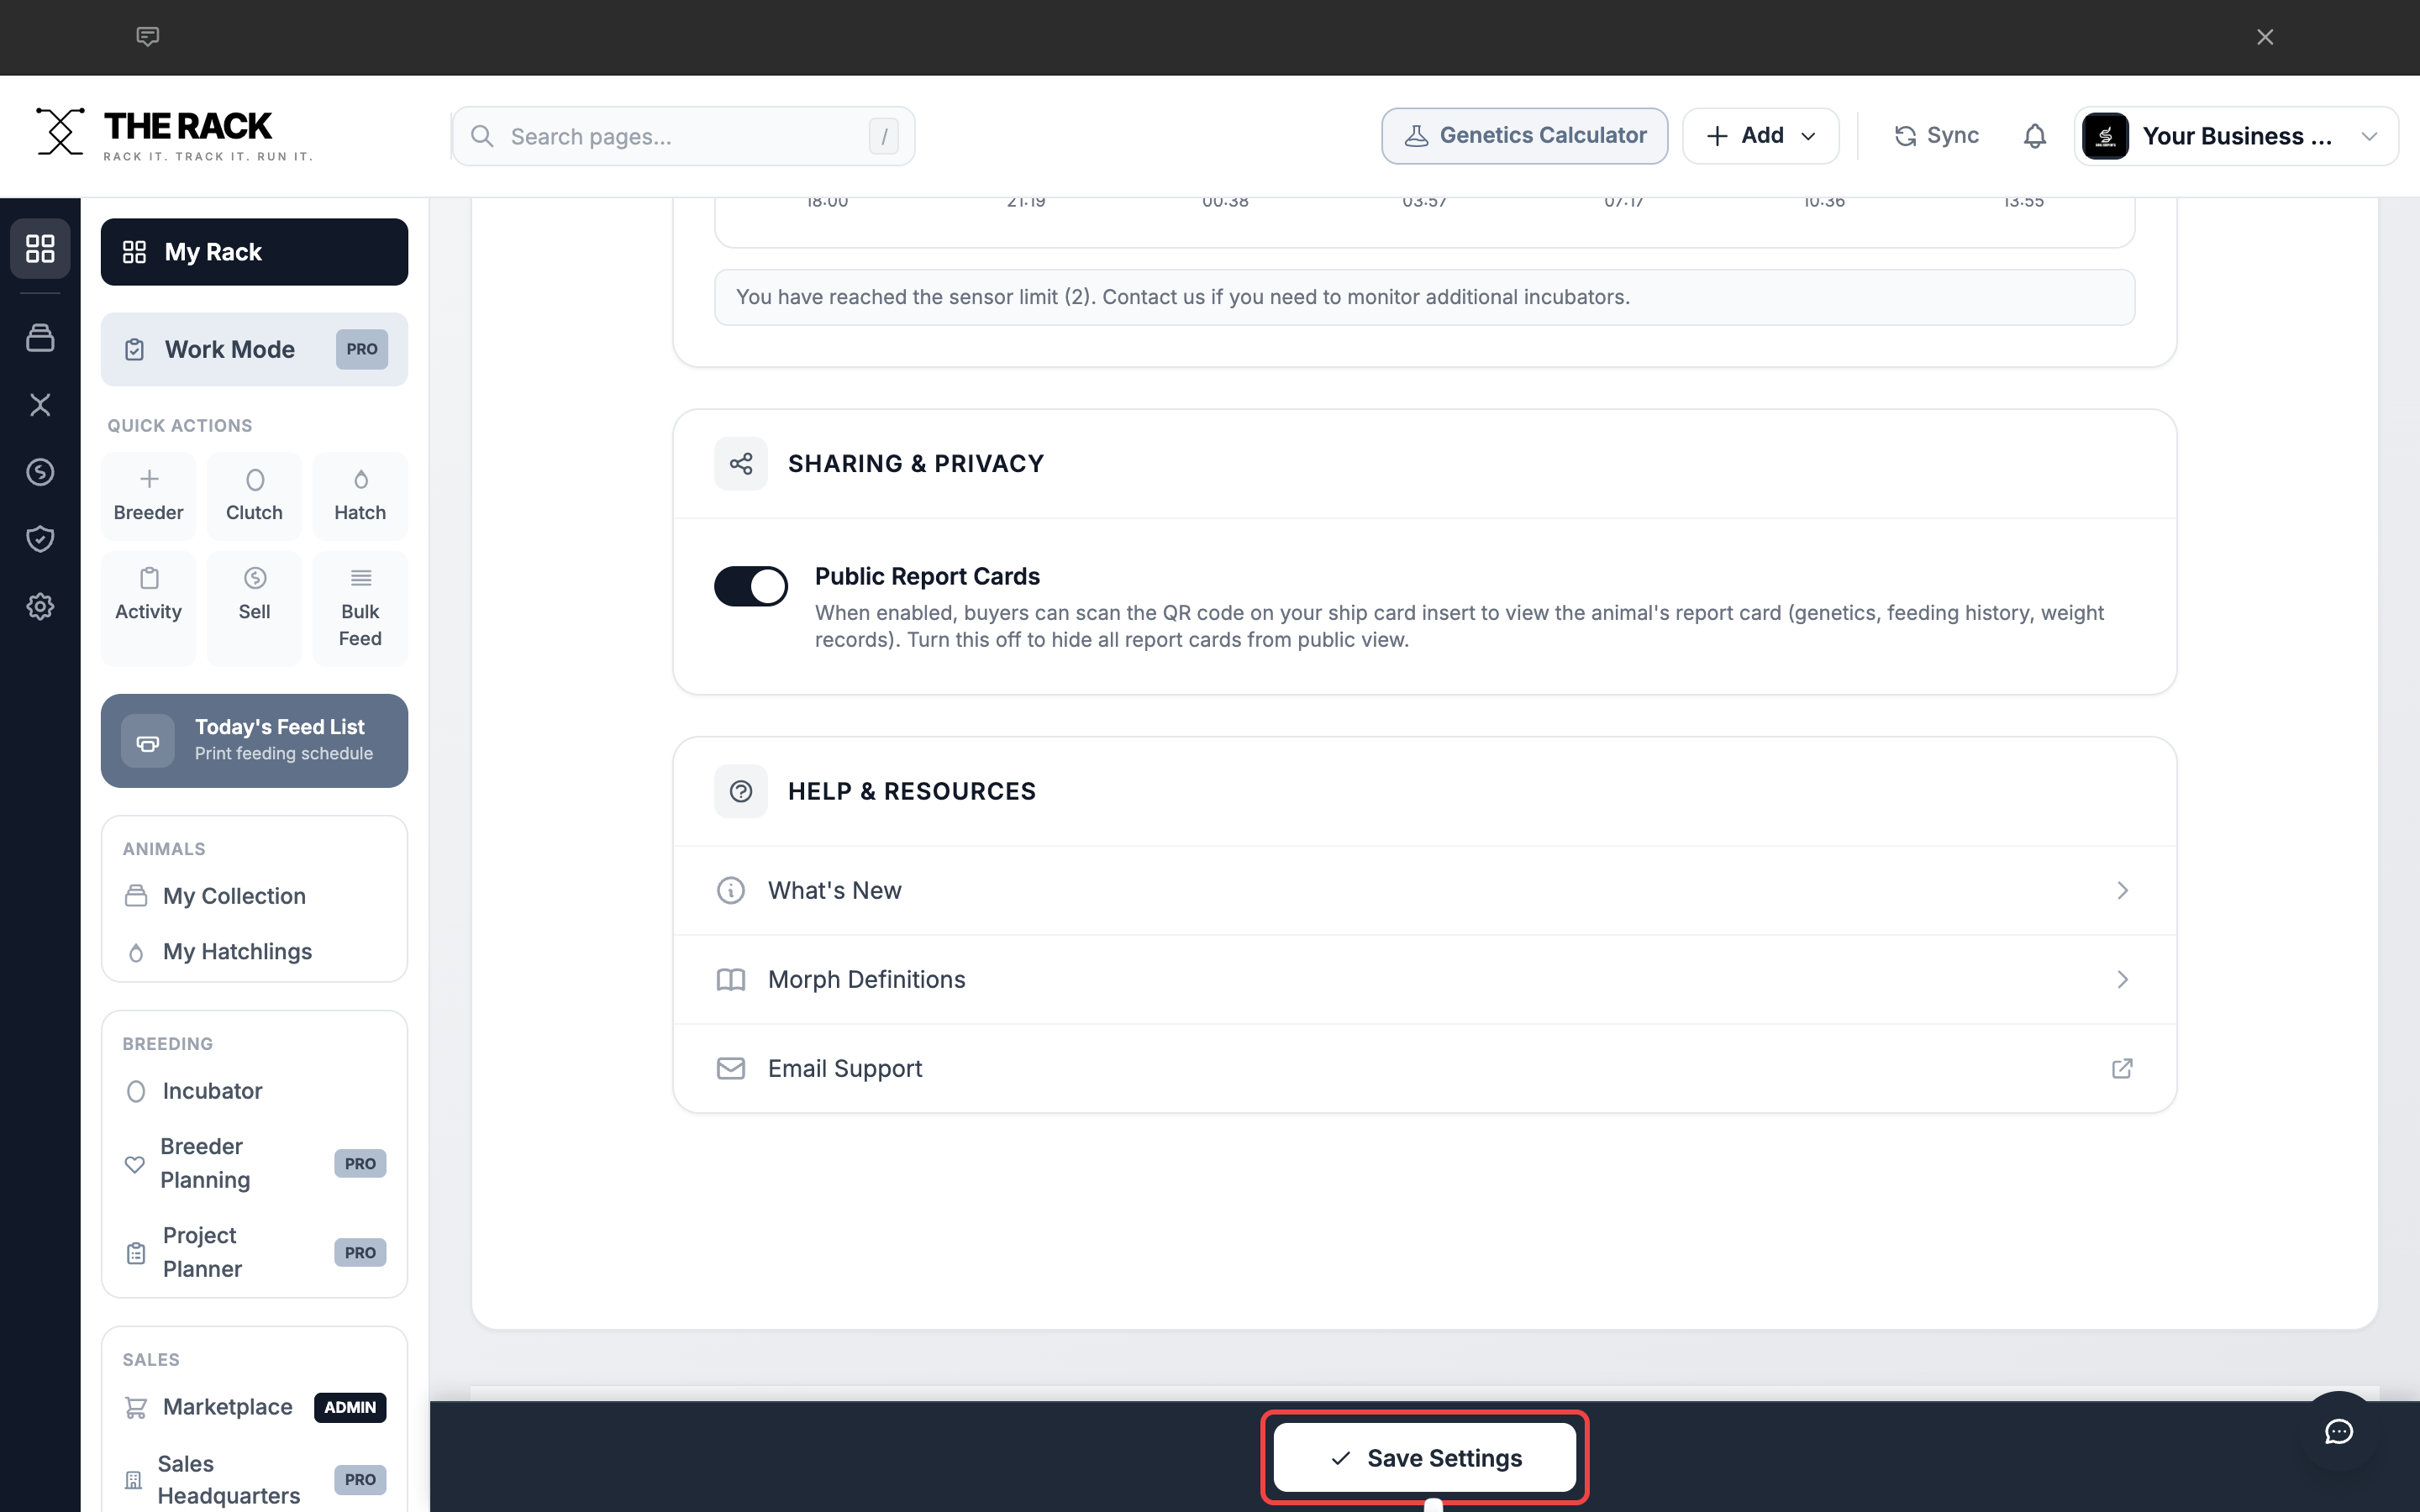
Click Save Settings to apply your changes.
Step 7: Other Settings Sections
| Section | What It Controls |
|---|---|
| Account Access | Your login email and password. |
| Husbandry Defaults | Default substrate for new animals and report cards. |
| Prey Prices | Price list for different prey sizes for feeding cost analysis. |
| Invoice Settings | Payment terms, notes, and formatting. |
| Payment Methods | Payment options shown on invoices (Zelle, PayPal, Venmo, etc.). |
| Care Card Settings | Customize the care card included with sold animals. |
| Business Goals | Revenue and sales targets for goal tracking. |
| Print Settings | Print layouts for bin tags and labels. |
| Hardware | Printer and scale device connections. |
| Incubator Monitoring | Temperature and humidity sensor connections. |
| Help and Resources | Links to What's New, Morph Definitions, and Email Support. |
Screenshots and instructions verified against THE RACK v2.0. Last reviewed April 2026.
Built by a Breeder
Set It Once,
Save Time Every Day
Business profile. Breeding defaults. Feeding preferences. Invoice formatting. THE RACK is facility management software that adapts to how you run your program.
See THE RACKFree for up to 5 animals. Keeper $10/mo. Breeder $20/mo. 7-day money-back guarantee.