News / Ball Python Egg Incubation Guide
Ball Python Egg Incubation Guide
- Hold every clutch at 88.5F with no more than half a degree of variation
- Humidity inside the egg box should sit near 100 percent; condensation on the lid confirms the balance
- Candle once at the midway point. Less interference produces higher success rates
- Let hatchlings emerge naturally. Cutting too early risks fluid absorption issues
- Label every box with sire, dam, lay date, and egg count for complete clutch records
Every healthy hatchling starts long before the egg cuts. Incubation is where discipline produces results. A clean, stable environment delivers predictable hatch rates season after season. This is the protocol we follow for every clutch, and the reasoning behind each step.
In This Guide
Collecting and Preparing Eggs
After a female lays, candle each egg immediately. Strong veins and stable shape indicate viability. Eggs that appear dented or thin are not automatically lost; proper humidity often brings them back.
Gently remove eggs from the coil. Separate them if possible without tearing the membrane. Place each egg in a clean, labeled container with vermiculite or perlite balanced to the correct moisture ratio. The substrate should be damp but not wet; a squeeze test should produce no dripping water.
Label every box with the sire, dam, lay date, and egg count. This information connects directly to the breeding pipeline and clutch records that follow each animal through hatch, first shed, and first meal.
Temperature Target
Hold every clutch at 88.5 degrees Fahrenheit with no more than half a degree of variation. Temperature swings are the single largest cause of incubation failure.
Want automated hatch date calculations?
Log Every Clutch.
From Lay to Pip.
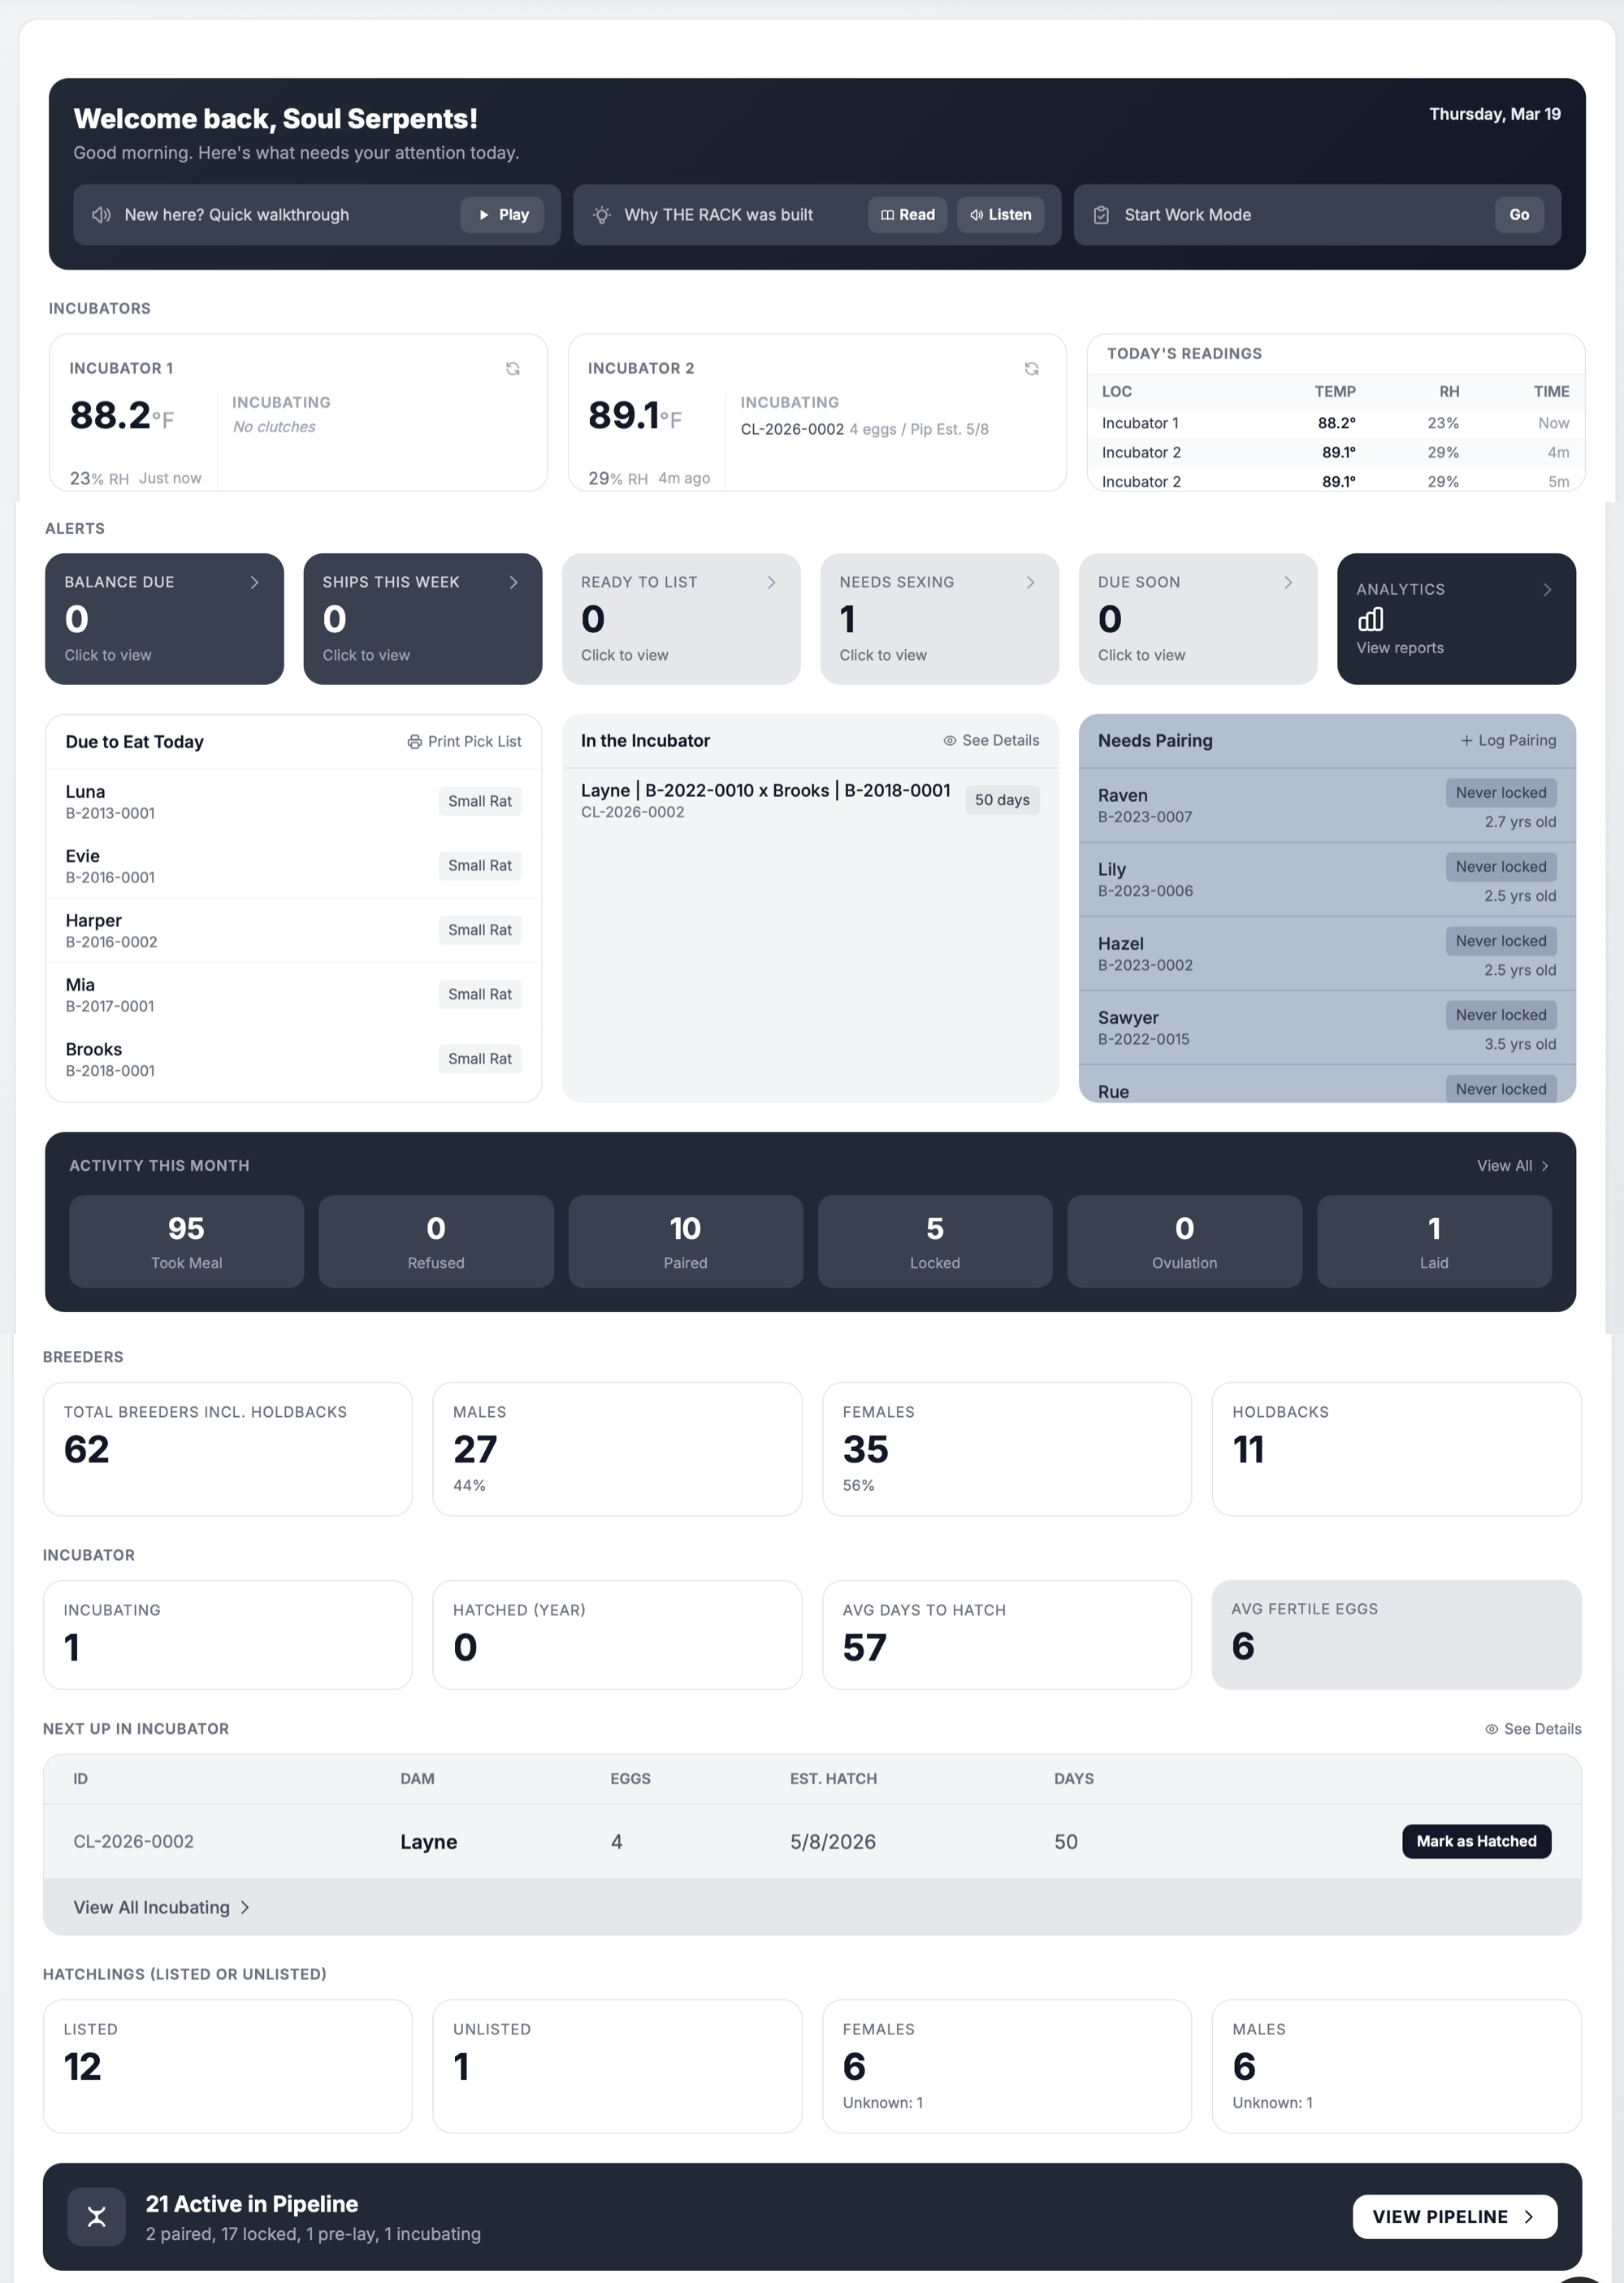
THE RACK tracks lay dates, egg counts, sire and dam genetics, and calculates estimated hatch dates automatically. Every clutch documented from the moment eggs hit the incubator.
See Incubation ToolsTemperature and Humidity Control
Consistency is everything during incubation. Each incubator should run on thermostats with dual sensors and digital probes. Backup monitoring adds a safety net for power fluctuations or thermostat failure.
Humidity inside the egg box should sit near 100 percent. Condensation on the lid confirms the balance is correct. If the lid dries out, the substrate needs more water. If standing water pools at the bottom, the substrate is too wet.
Airflow matters. Stacking tubs without spacing creates stagnant corners where mold thrives and temperature varies. Leave gaps between containers and verify temperatures at multiple positions inside the incubator.
Monitoring and Candling
Candle once at the midway point. Avoid constant handling. Less interference produces higher success rates. The best incubators are boring; they hold temperature perfectly and never need attention.
When candling, check vein brightness. A fading network signals poor humidity or temperature drift. Mold spots can be treated with a light application of F10 solution. If mold spreads beyond the surface, isolate the affected egg to protect the rest of the clutch.
Document every candling observation. These notes feed back into your incubation protocol and help identify equipment issues or environmental patterns across multiple seasons.
The best incubation protocol is boring. Perfect temps. Zero surprises.
Pipping and Hatch Protocol
At day 55 to 58, pips begin to appear. Let hatchlings emerge naturally. Cutting too early risks fluid absorption issues that compromise the animal's first days. Patience here protects the work of the entire incubation period.
Once all hatchlings are out, rinse them gently and place them in fresh tubs with clean substrate. The first shed happens within approximately one week. After the first clean shed, offer the first meal.
Record the hatch date, number of viable eggs, and any observations for each hatchling. These records become the foundation of every animal's history and feed directly into the lineage tracking that follows them through their entire life in your program.
Want this system for your incubation records?
Track Every Clutch.
From Lay to Hatch.
THE RACK tracks lay dates, egg counts, sire and dam genetics, and calculates estimated hatch dates automatically. Every clutch documented.
See THE RACKTroubleshooting Common Issues
- Dented eggs. Often recoverable with proper humidity. Place the egg in a container with slightly wetter substrate and monitor for 48 hours.
- Mold growth. Surface mold on the shell can be treated with F10 solution. Deep mold that penetrates the membrane usually indicates a non-viable egg.
- Temperature spikes. Even brief spikes above 92 degrees can damage embryos. Dual thermostats with alarm notifications prevent this.
- Late pippers. Some eggs take until day 60 or beyond. Do not cut prematurely. As long as the egg feels firm and shows veins when candled, give it time.
Protocol Summary
88.5 degrees. Near 100% humidity in the box. Candle once at midpoint. Let hatchlings emerge naturally. Document everything.
Incubation is not complicated. It is repetitive, precise, and unforgiving of shortcuts. The breeders who produce clean, consistent hatches season after season are the ones who treat every clutch with the same discipline they bring to pairing and conditioning.
Build the system. Trust the system. Let the eggs do the rest.
Content verified against THE RACK breeding database. Incubation parameters sourced from active breeder programs. Last reviewed April 2026.
Built by a Breeder
Every Clutch.
Documented.
Clutch management. Hatch date calculations. Sire and dam linkage. Hatchling records from pip to first meal.
See THE RACKFree for up to 5 animals. Keeper $10/mo. Breeder $20/mo. 7-day money-back guarantee.